Design Tab
Introduction
The "Design" tab is where you can adjust the look and feel of your Product Finder to fully match your brand’s identity. Here you can set colors, change fonts, add pictures, edit attributes (viewed at the results view) and many more customization actions links to which can be found in the article.
1. Get to the Design Settings
To get to the design tab, open editor of the Product Finder, and click the "Design" header at the top.
2. Design Page Layout
Once you've clicked the Design header, you will see the Design settings page. It will be similar to the example below:
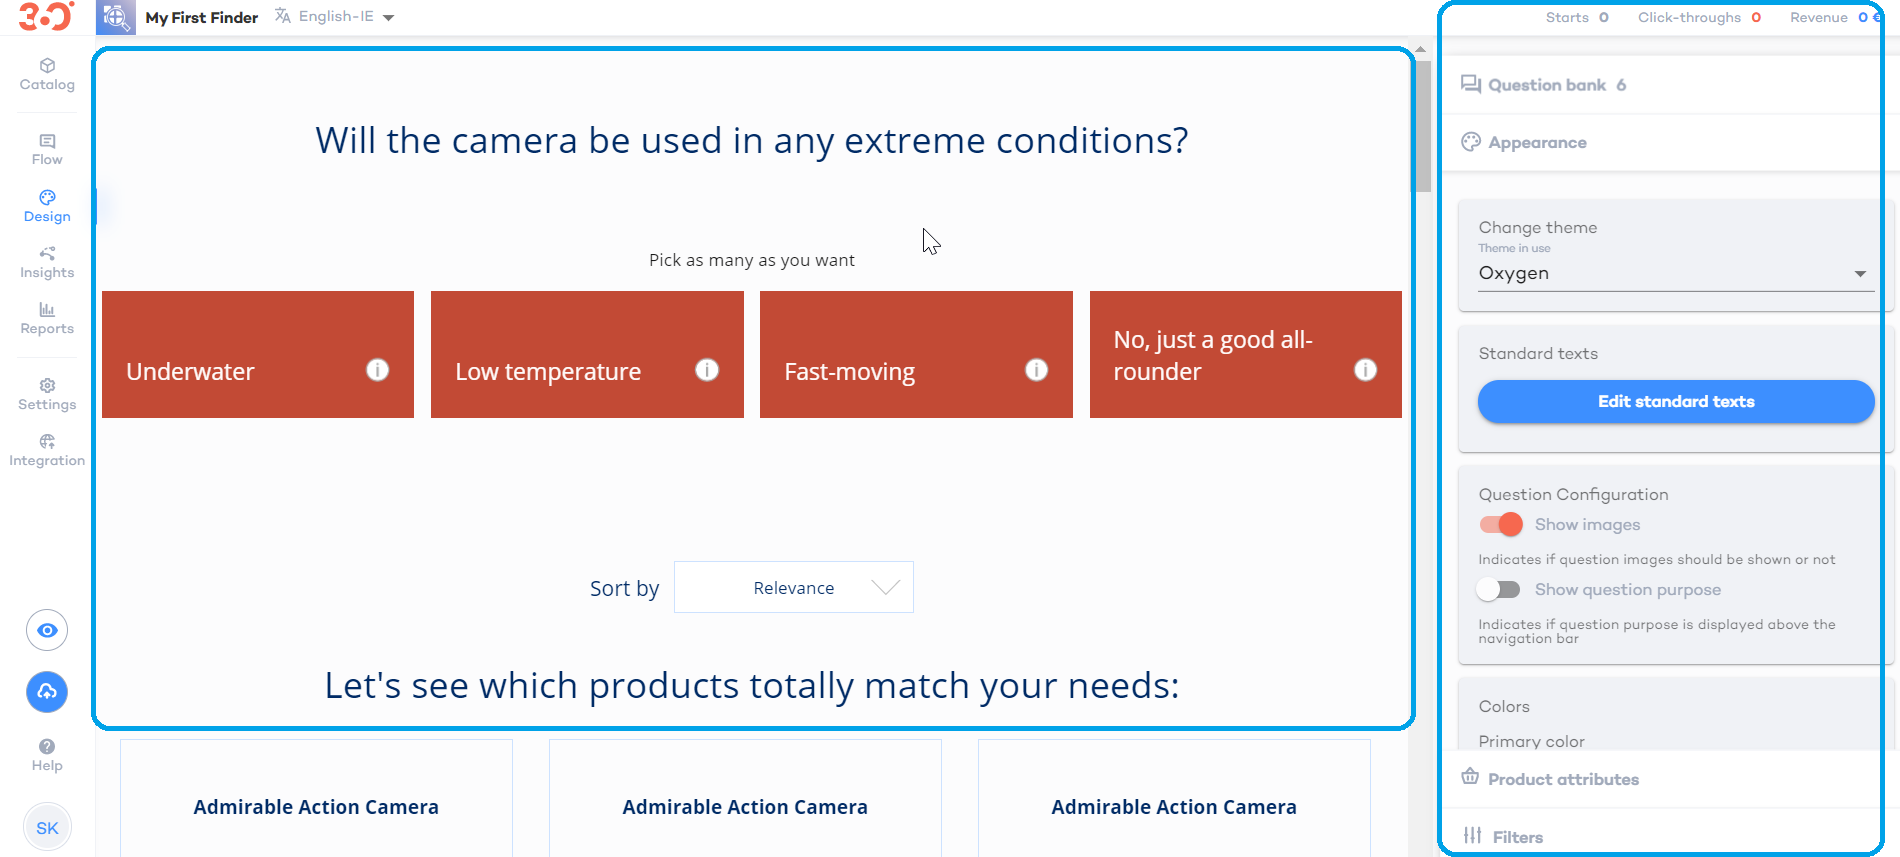
The page consists of the two main part:
(1) A preview page of your Product Finder: You can see how your Product Finder looks currently and how it changes are applied to the Product Finder
(2) Question Bank and design-related settings
3. Design Settings
Once you've clicked the "Design" link in the page header, the tab on the right will be opened at the appearance settings (in the example). If you click in the "Appearance" header, it will be minimized and will look like this: | 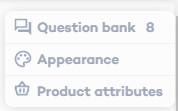 |
As you can see, the Design settings menu contains three sections:
3.1 Question Bank
Question bank: Click the header to switch between the question shown in the preview page. You can also
|  |
3.2 Appearance
Click "Appearance" to access the basic design settings of the Product Finder itself. From here you can:
| 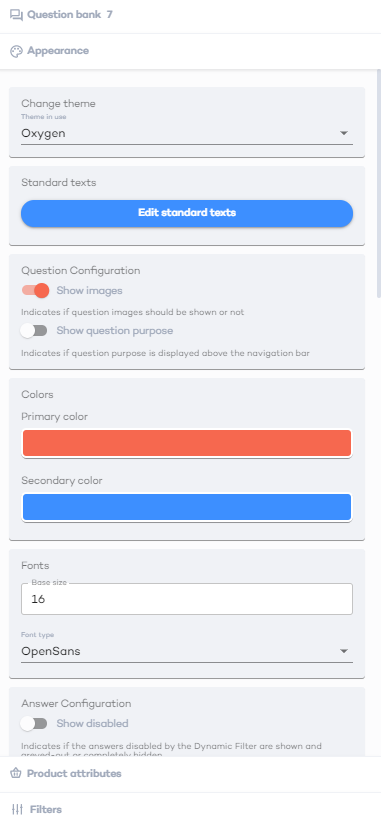 |
3.3 Product Attributes
Click the "Product attributes" to adjust the mapping of the main attributes for this particular Product Finder and the list of attributes displayed in the recommendations and comparison. You can:
| 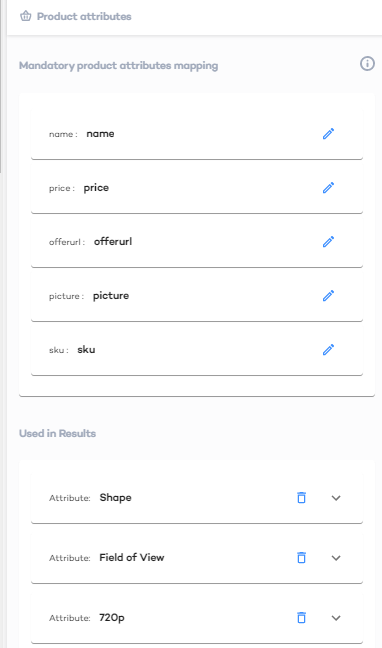 |