Store and Manage Files in the Library
Introduction
The Library is the storage of the images, HTML snippets, and custom fonts that you can use in all your Product Finders!
To enter your Product Finder 360 library, click the Library link in the menu bar of your Dashboard. |  |
This is where you can keep the images and edit their basic parameters. From this article you will learn how to:
Add an asset to the Library
Search the Library for a specific asset
Understand the asset details displayed in the Library
Re-upload assets to the library
Adjust the image in the Library
Delete assets from the Library
1.Add an Asset to the Library
Once you've clicked the "Library" link in the header of the Dashboard, the library will emerge. Whether it is empty or has already got some files, you can add new ones. Every asset added to the library can then be used for descriptions and illustrations of your questions and answers.
There are three types of assets that can be added:
Files from your device: these files can be fonts and images.
Fonts: you can upload an .ttf file to the library and then use this font in the Product Finder.
Images: can be managed and changed in the library. The images can be used in the questions and answers.
Files by URLs: these files are not saved on Product Finder 360 but are added to Product Finders from the URL. They can also be used in the questions and answers, but if the image at the source is changed, it will be changed in all the Product Finders. If the image is not available to the user for any reason, no image will be displayed instead.
Supported Size and Formats
The file in the Library cannot exceed 2MB, however, to make sure that the Product Finder is working fine and steadily, we don't recommend using files over 100kB. (You can find this and other recommendations for images over here.)
The file must be of one of the following formats:
.jpg
.png
.svg
.gif
.ttf
1.1 Add a File From Your Device to the Library
To add a file or several files to the library, you can drag it/them from the file manager and drop it into the Library window
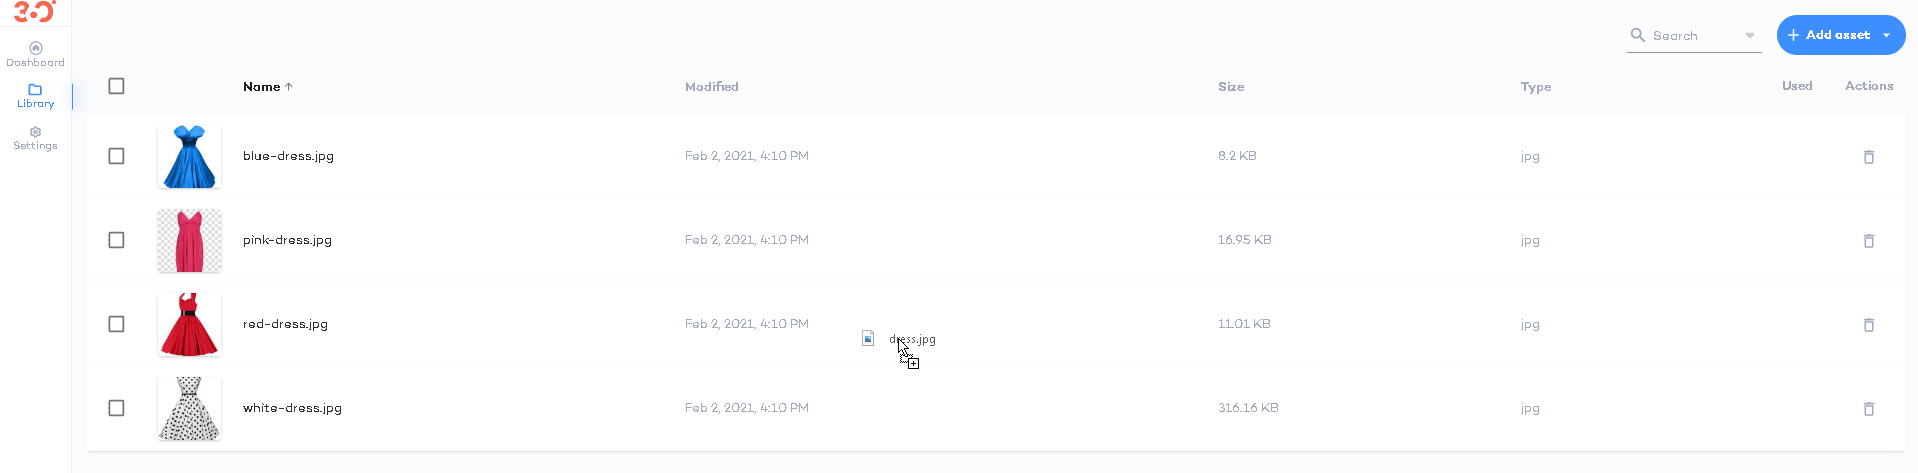
You can also:
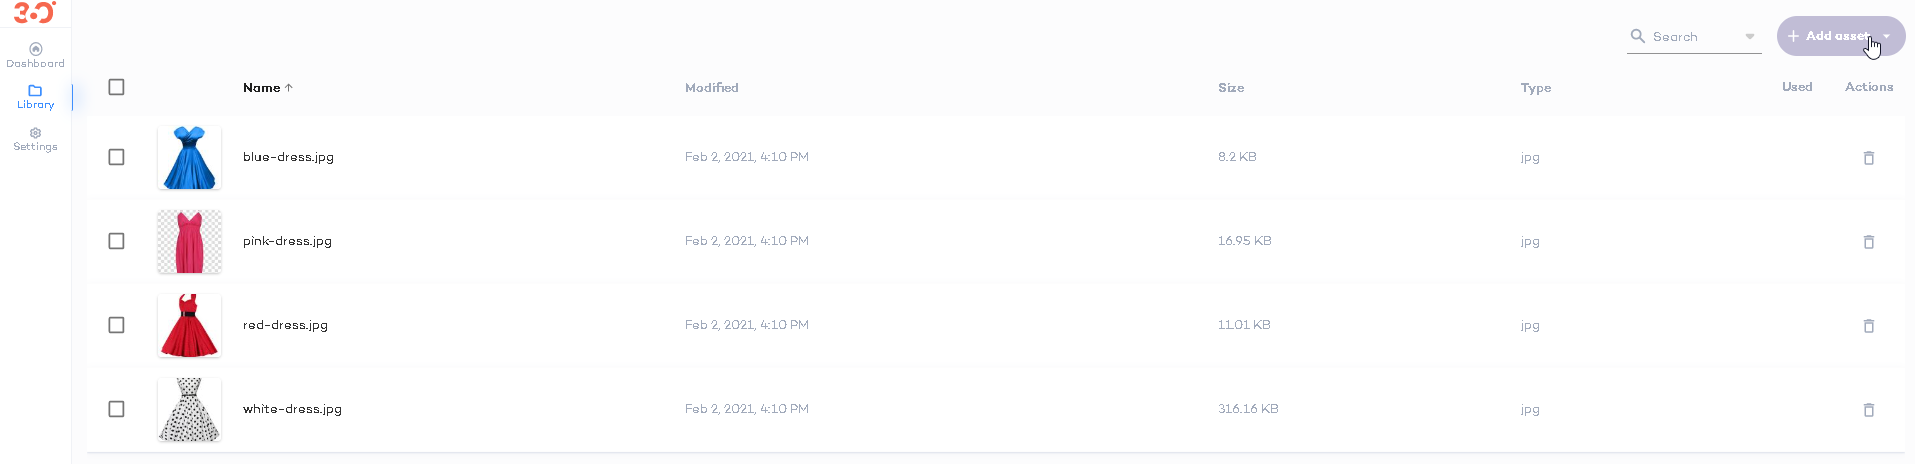
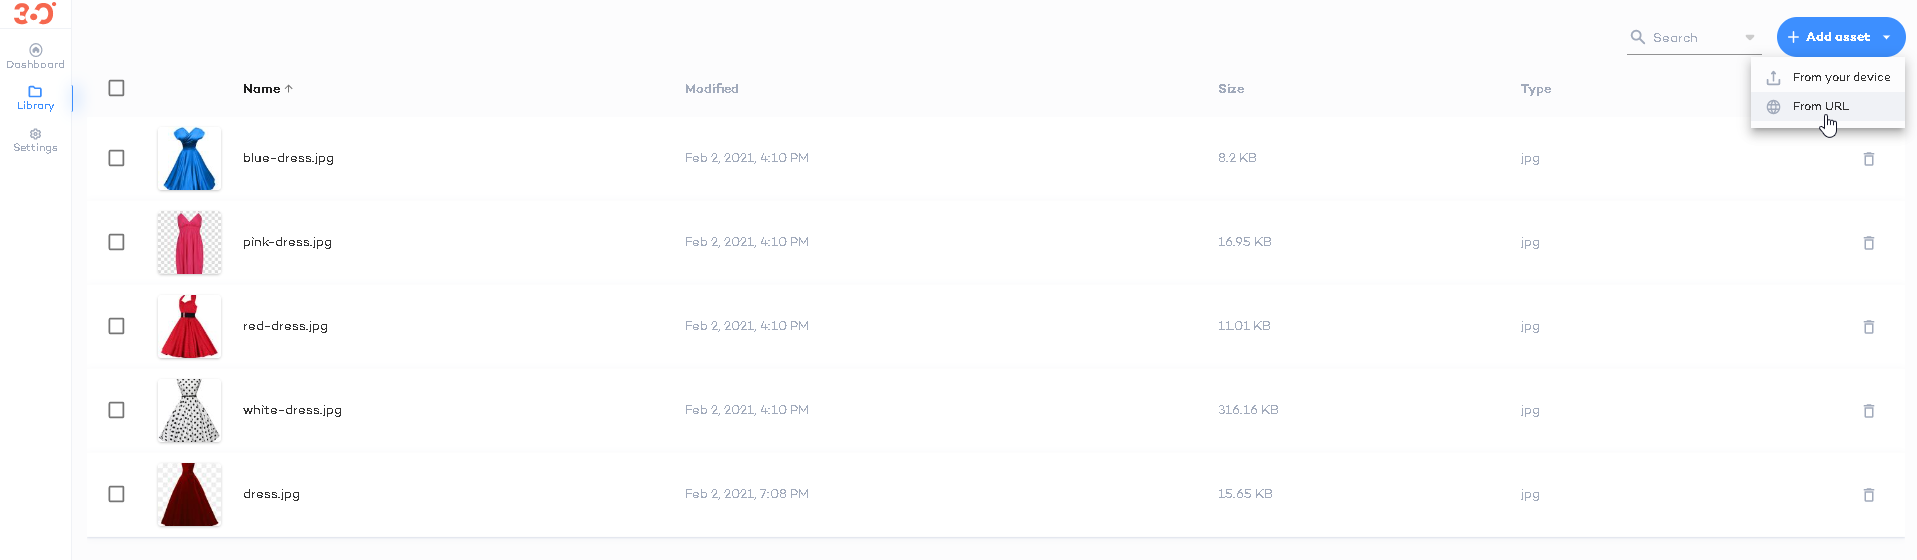
Click the "Add asset" drop-down menu
Select the "From your device" option
Select the file(s) from your device
Upon successful upload, the(s) file will appear in the Library, and a success message will be displayed.

If something goes wrong, you'll get a self-explanatory error message
How about fonts?
Files containing font are added in the same way. They will be added to the library and can then used in the Product Finders.
1.2. Add a URL
You can also add a URL to the file that you want to use. These files are not saved on Product Finder 360 but are added to Product Finders from the URL. They can also be used in the questions and answers, but if the image at the source is changed, it will be changed in all the Product Finders. If the image is not available to the user for any reason, no image will be displayed instead.
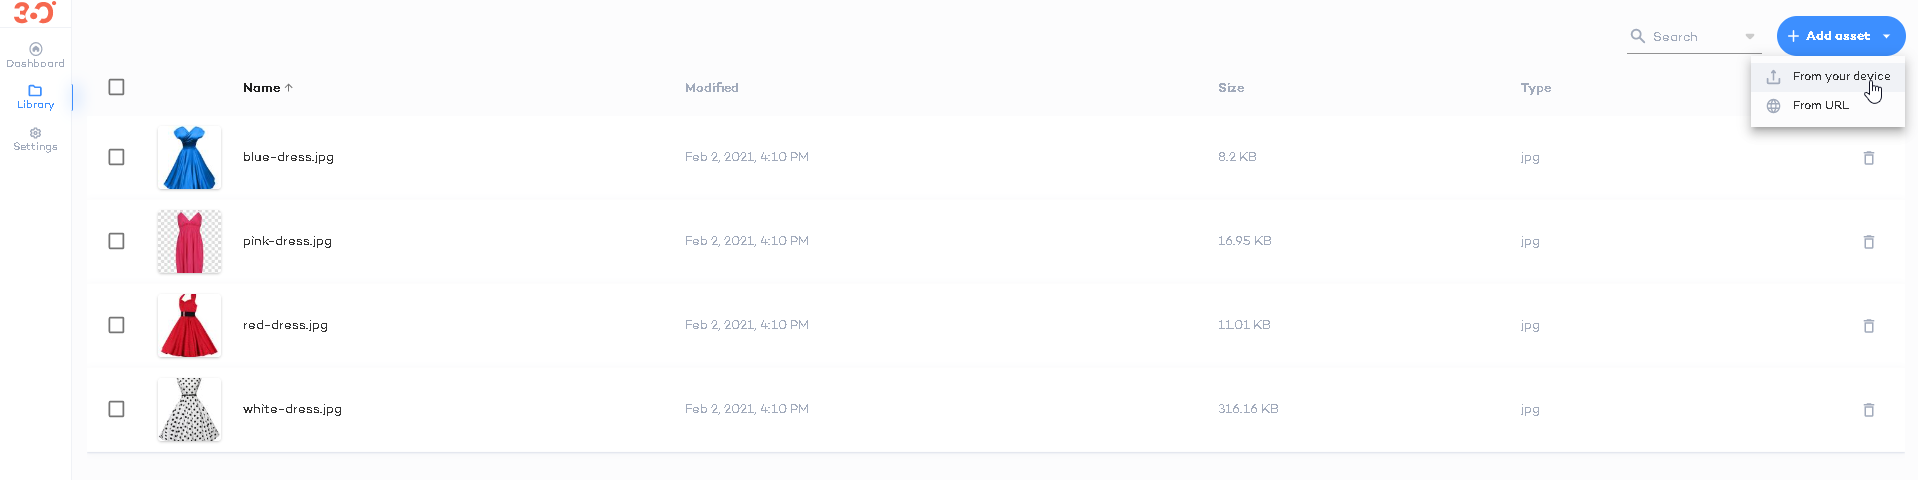
To add a URL, click the "Add asset" drop-down menu and select the "From URL" option
In the emerged window, define the name of the asset and the URL it can be accessed by. Click the "Insert" button. | 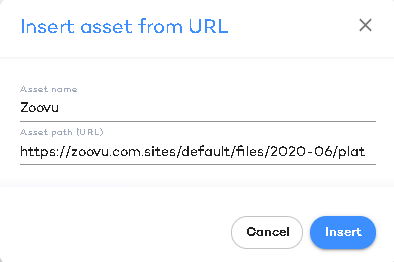 |
The file will be added to the library
2. Find an Asset in the Library
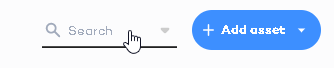
Subject to the scale of your account, the number of Product Finders, and how often images and snippets are used, the list of assets in the library can become rather extensive. Therefore, you can use the Search field to find an asset.
1. Click the "Search" dropdown in the top right corner (to the left from "Add asset" button. You can search for the asset by:
|  |
2.1 Search by Name
1. Define the keyword: Click in the field and enter the name or part of the name of the asset.2. Press Enter. All the assets that contain the keyword will be displayed |  |

2.2 Search by Extension
1. Click the arrow down and select the extension from the dropdown or type it in the search field. The dropdown contains all the extensions supported by the Library
| 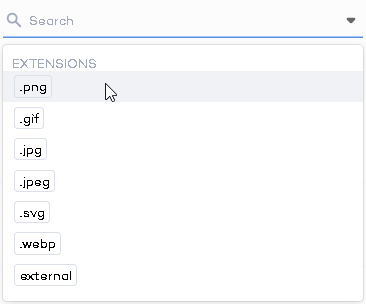 |
2. Click the extension tile, and it will be added to the search conditions. |  |
3. In the same manner, you can add more extensions. | 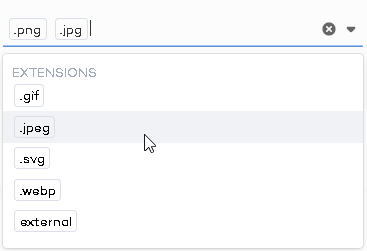 |
| 4. Click enter and T all assets that have any of these extensions will be shown. |
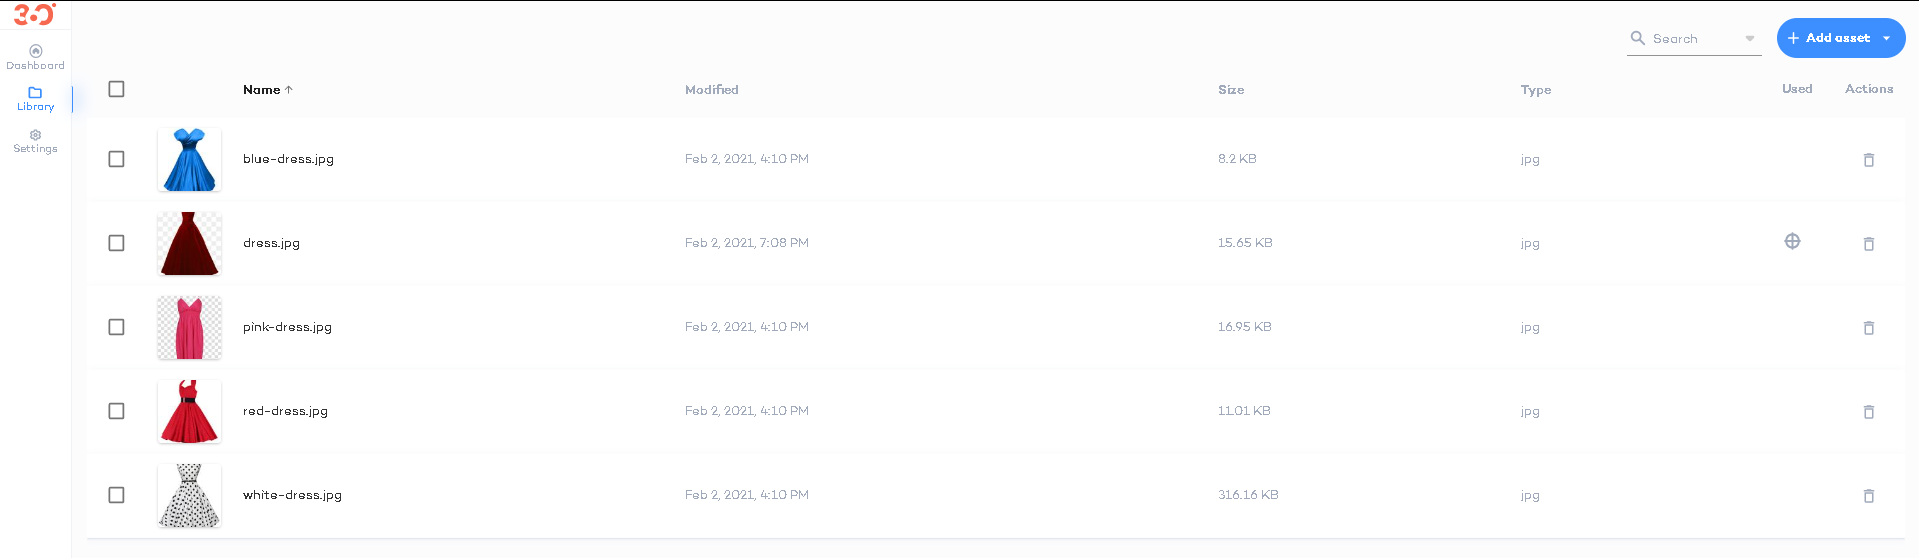
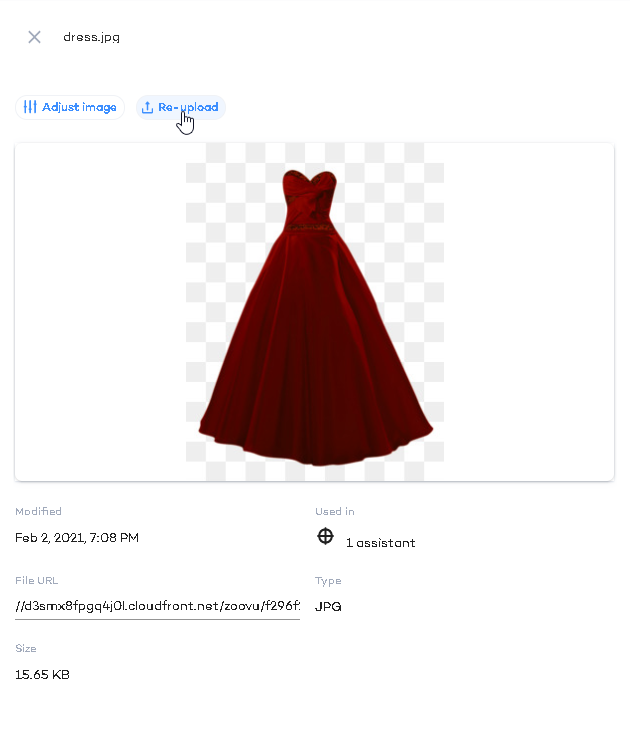
3. Reading File Details
For each file in the Library, you can see:
It's name
The date and time when the asset was last modified
Size of the file
Type of the file
Whether it's been linked to any existing assistants
If so, you can hover over the target sign and see the details of the Product Finders it's been assigned to | 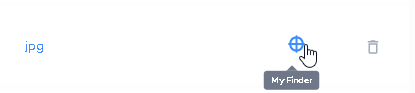 |
4. Re-Upload and Live-Update of the Assets
All the library assets except fonts (i.e. uploaded images, URL-bound assets, and HTML-based snippets) can be re-uploaded. Basically, this means that you can upload another asset that will then replace this asset everywhere it's been used.
Whether this change will affect the current version of the live Product Finders immediately, depends on whether live update has been enabled.
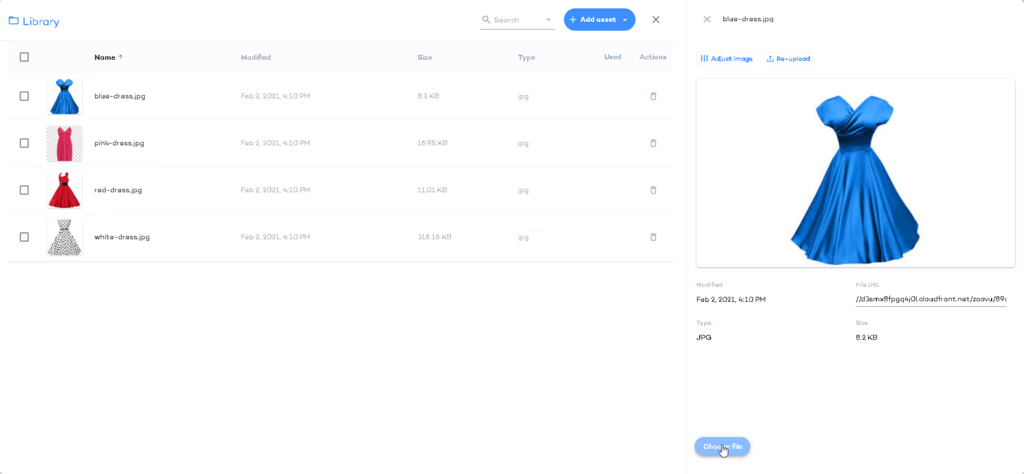
4.1. Re-Upload an Asset
To re-upload an asset: 1. Open the Library dashboard 2. Click the asset name in the library 3. Click the "Re-upload" button in the emerged settings tab - right below the name of the asset. 4. "Update asset" module will emerge. Its look depends on the type of asset and is the same as when you're adding an asset to the library - fill in the details and click the "Update" button.
|  |
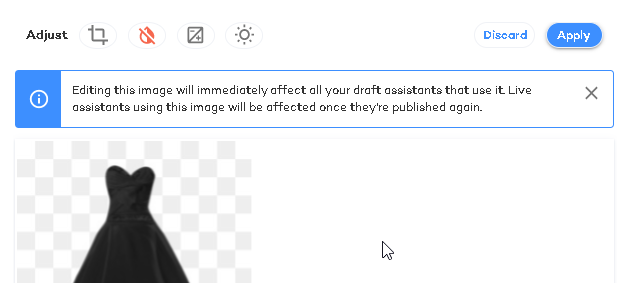
5. Adjust the Image
Once an image has been added to the Library, you can adjust it. To do so:
Click the image
Click the "Adjust image" button above the image preview on the right

Adjustment icons will appear above the image. You can:
| 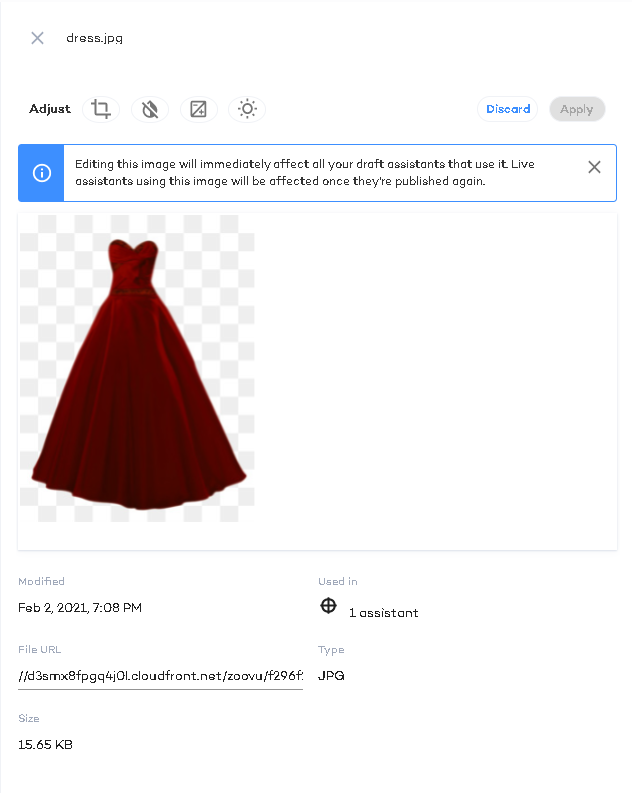 |
ATTENTION
Keep in mind that as soon as you've applied the changes, they will affect all current versions of the Product Finders. They will become visible to the customers, as soon as the Product Finder is published.
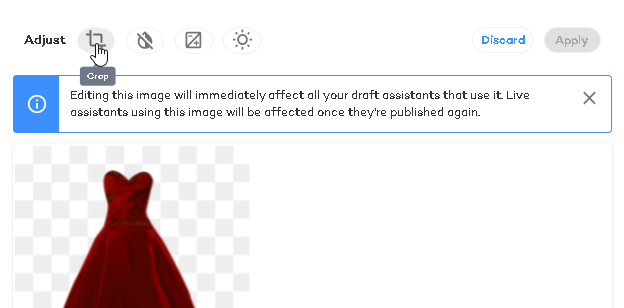
5.1 Crop the Image
To crop the image:
|  |
| 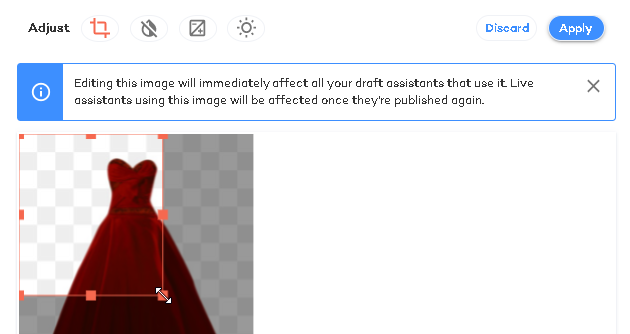 |
BE CAREFUL!
We recommend previewing all the affected Product Finders if you've used cropping. Remember that different themes might have rectangular or square image areas. The image will be maximized to fit into the area and any edges that don't fit in will be cut-off. (You can find this and other recommendations for images over here.)
5.2 Greyscale the Image
To crop the image:
|  |
|  |
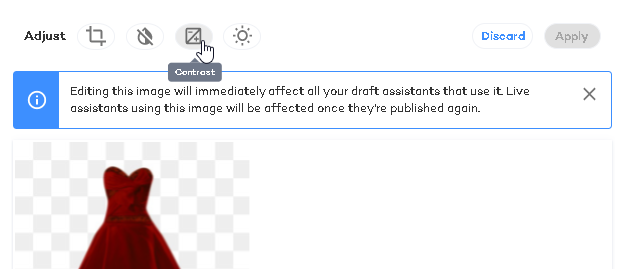
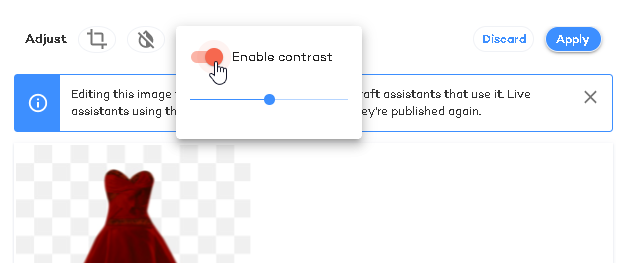
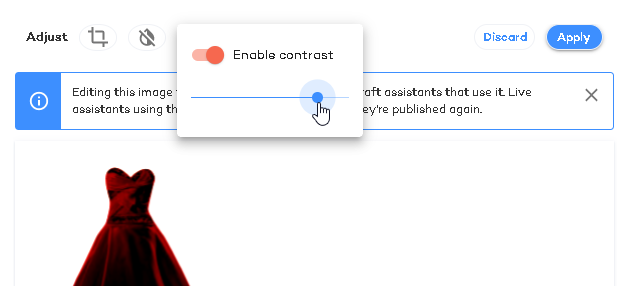
5.3 Change the Contrast
To change the contrast of the image:
|  |
|  |
|  |
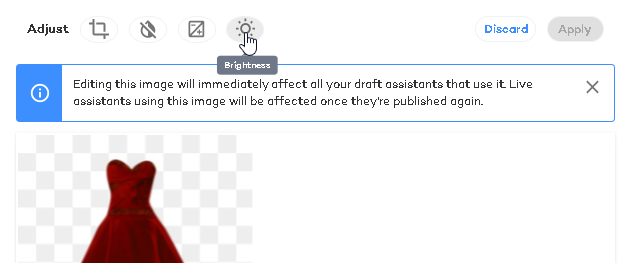
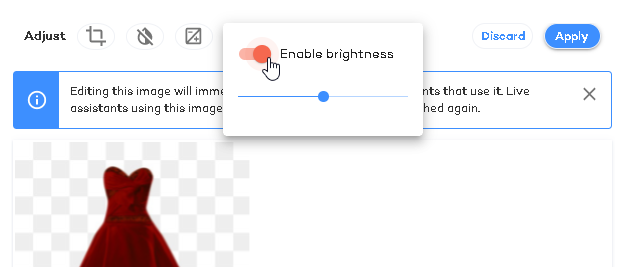
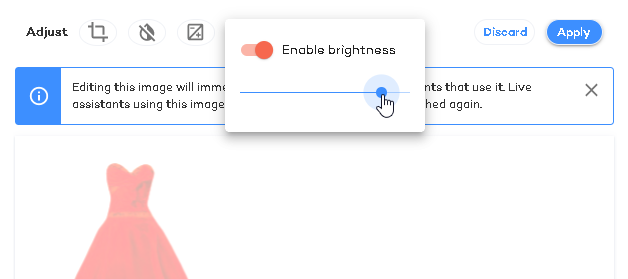
5.4 Change the Brightness
To change the brightness of the image:
|  |
|  |
|  |
5.5 Discard of Apply the Changes
Once you've applied all the required changes, click the "Apply" button | 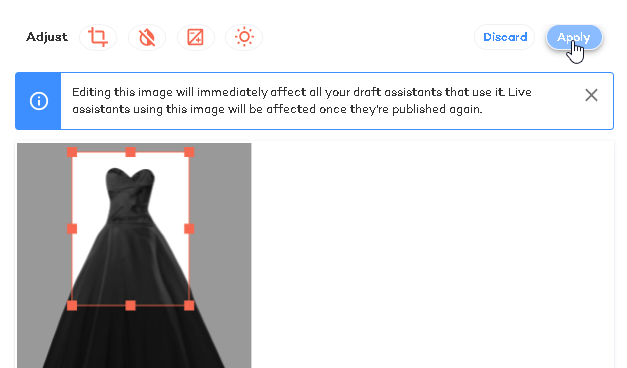 |
BE CAREFUL!
The changes will take place as soon as you've Applied them. The image will be updated in all the draft Product Finders immediately and will be updated in all the published Product Finders immediately after the next published update.
Click "Discard" to roll-back all the changes that haven't yet been applied.
6. Delete the Asset(s)
In order to delete an asset, click the trash bin icon at the end of the corresponding row. | 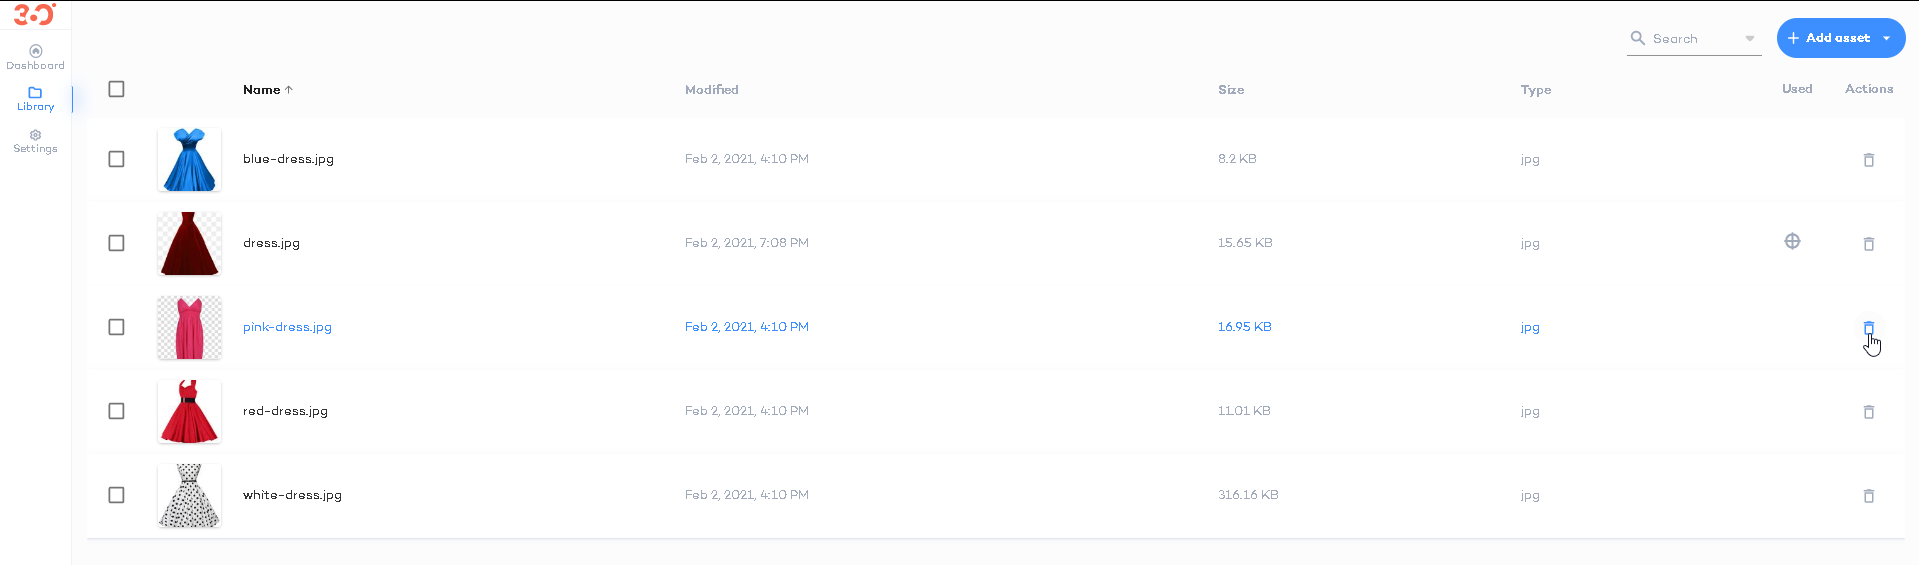 |
To delete several assets,
| 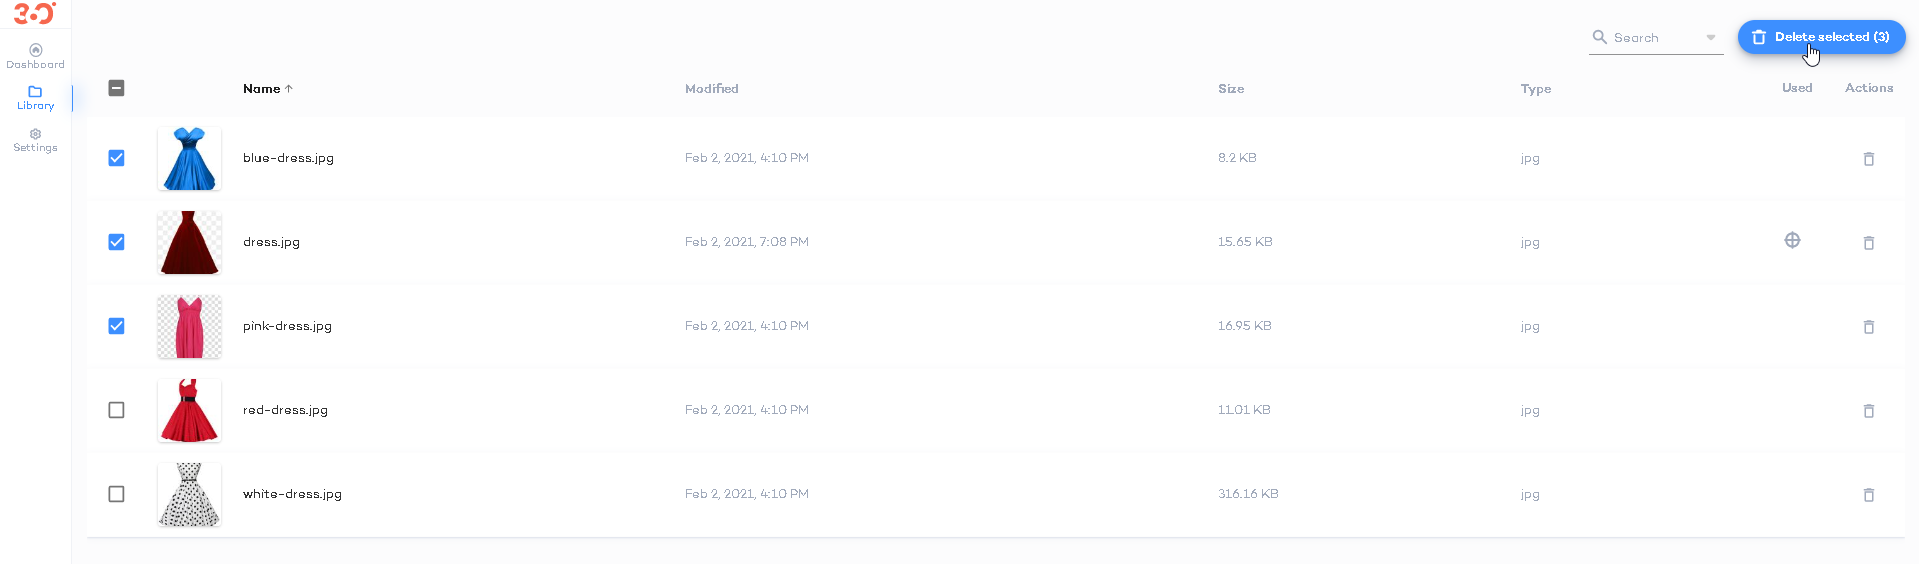 |
The confirmation message will appear. Click "Delete" to finalize the action. | 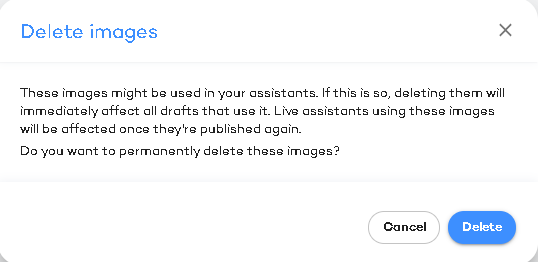 |
TIP
If the image is used in any of the Product Finders, you'll see it in the message ONLY if you are deleting the images one by one (it won't be shown for bulk delete).