Set Up Product Mapping
Introduction
One of the main advantages of Product Finder 360 is that it uses answers given to the digital finder, to calculate which products match the customer best. Moreover, you can also add Filters at the end of your Product Finder to help your customer select the product. Both Answers and Filters can be of different types.
For sliders, the answers will be automatically mapped to the corresponding "match values". However, for multiple choice answers, you need to define the mapping rules.
The mapping rules can be defined for questions of the Product Finders and Messenger Product Finder, as well as for Filters. The process is rather similar, and in the following example, the sample images are provided for a Product Finder.
1. Access Mapping Rules
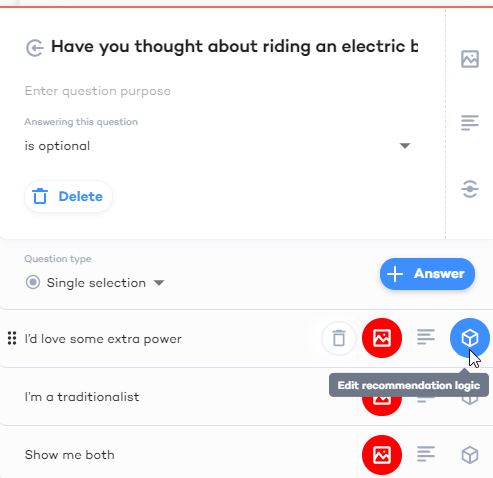
To add a mapping rule, click the recommendation logic (box) icon.
|  |
The first section of the emerged "Recommendation logic" settings is devoted to Product Mapping.
From here you can:
|  |
2. Add a Mapping Rule
The place to define the first rule is by default shown on the screen. The rule settings define:
1. Attribute:
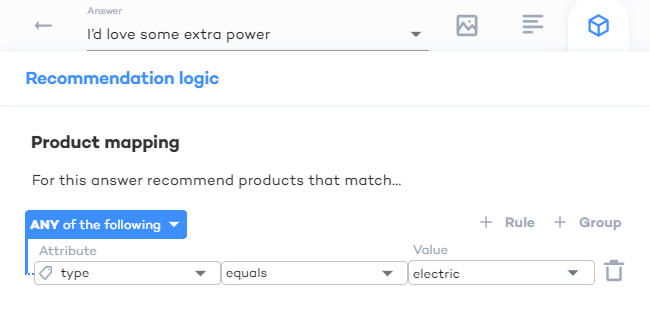
For example, for the answer "I'd love some extra power" we want to recommend bikes of the adventure category, so we select "category" property. | 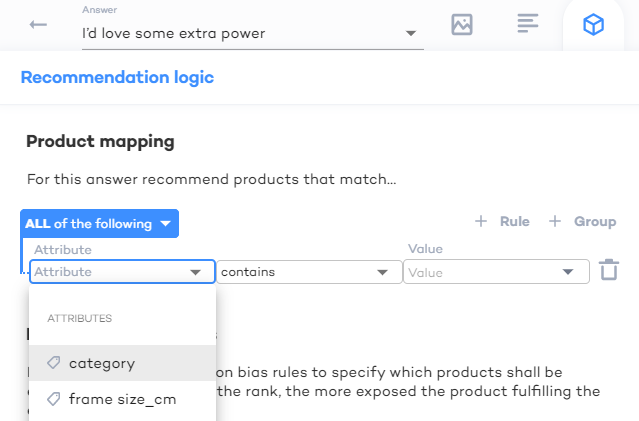 |
2. Condition:
For our example, we need the category to equal a specific value | 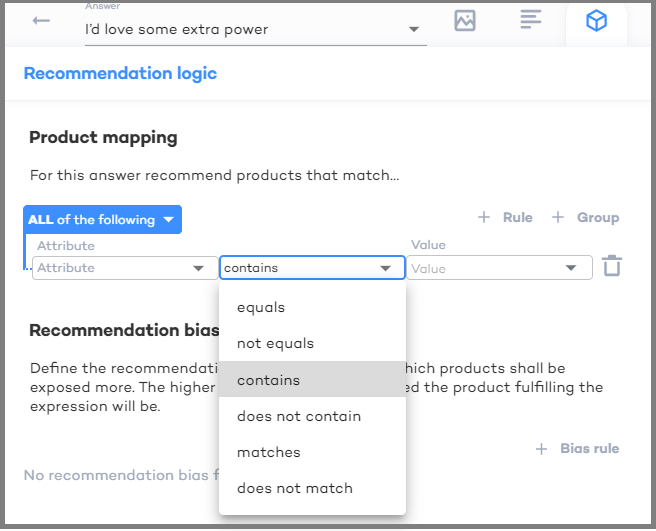 |
3. Value:
| 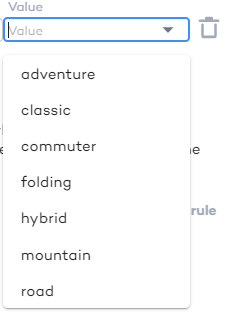 |
Along with selecting a value, you can also manually input it. For example, let's say that you want to recommend all the bikes that cost over two hundred.
To add the next rule, click the "+Rule" button. | 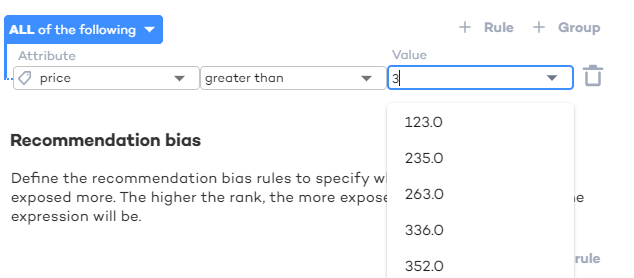 |
3. Add a Group of Mapping Rules
The "ALL/ANY" selector helps you define whether all or only some of the rules should be applied.
For example, if you want to show all such bikes that are of category "Hybrid" AND cost over three hundred, define the two rules and select "ALL" | 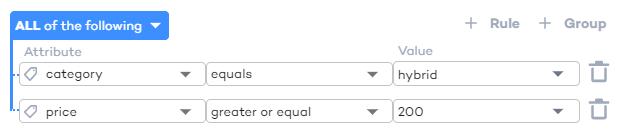 |
However, if you set the value to "ANY", the customer will be recommended all the hybrid bikes (regardless of their price) and all the bike that cost over three hundred (regardless of their category) | 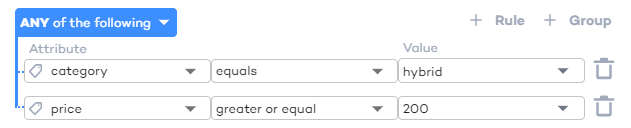 |
However, you might want to create several groups of rules, with different "all/any" settings.
1. Click the "+ Group" button.2. Define the "ALL/ANY" setting and define the rules.
Each group may have several rules or groups inside it. Be careful to click the "+Rule" and "+Group" buttons at the right level.
For example, the following rule states that for this answer we shall show:
| 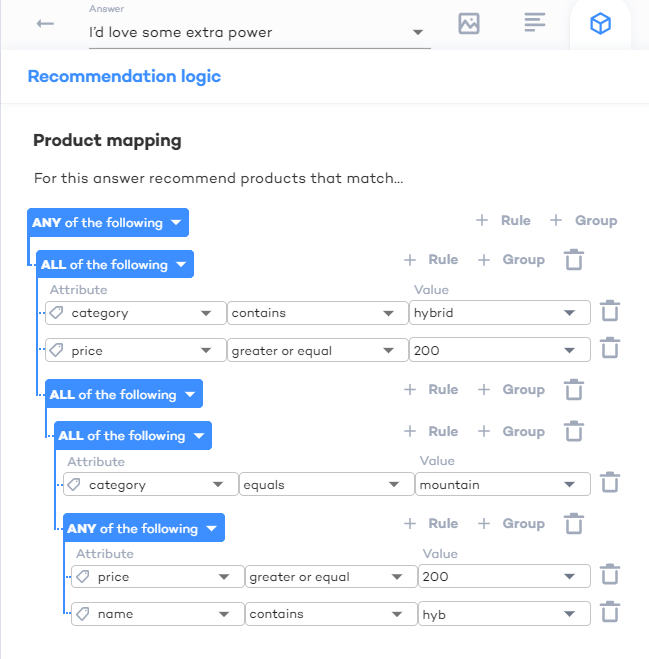 |
4. Edit Mapping Rules and Groups
You can always edit the values of the mapping rules and groups or delete them.
To edit a rule or group, click in the corresponding field and update it.(To select a new "Value", remove the previous value).
To remove a rule or a group, click the trash bin icon to the right of it.
5. Finalize Mapping
| Once you've defined all the rules, simply click the "Apply" button at the bottom. |  |