Assess and Compare Your Product Finders With A/B Tests
Introduction
Sometimes it might be tricky to find the right approach to your potential customers: tone of voice, images, overall design and even the type of answers you've chosen - the smallest things may affect the efficiency of the digital Product Finder, i.e. result in more or fewer visitors selecting a specific product.
Along with overview reports that let you understand how well a specific Product Finder performs and flow insights with which you drill into the efficiency of each specific questions, Product Finder 360 has created A/B Tests - a tool with which you can basically compare several Product Finders and get an unbiased answer to a question which of them works better for your audience.
From this article you will learn:
1. How A/B Tests Work
The idea is just as simple as efficient:
There are several Product Finders, of which you want to choose the best. They might differ in design, the order of the question, images, etc.
Set up an A/B test for them.
Define the probability with which the visitor might see each of them.
Now, when visitors open any of the Product Finders, they will see one of them (regardless of which they have accessed).
Product Finder 360 will collect the data and generate reports for each of the Product Finders.
TIP
A/B tests are most reasonable when the differences between the tested Product Finders are not too significant, therefore it might be more efficient to create one Product Finder and then make its copy and introduce the changes there. This will also ensure that when creating the compared Product Finders you haven't introduced any unintentional differences that might affect the test results.
2. Set Up an A/B Test
| Click the "+A/B Test" button | 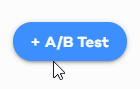 |
The initial test creation page will emerge
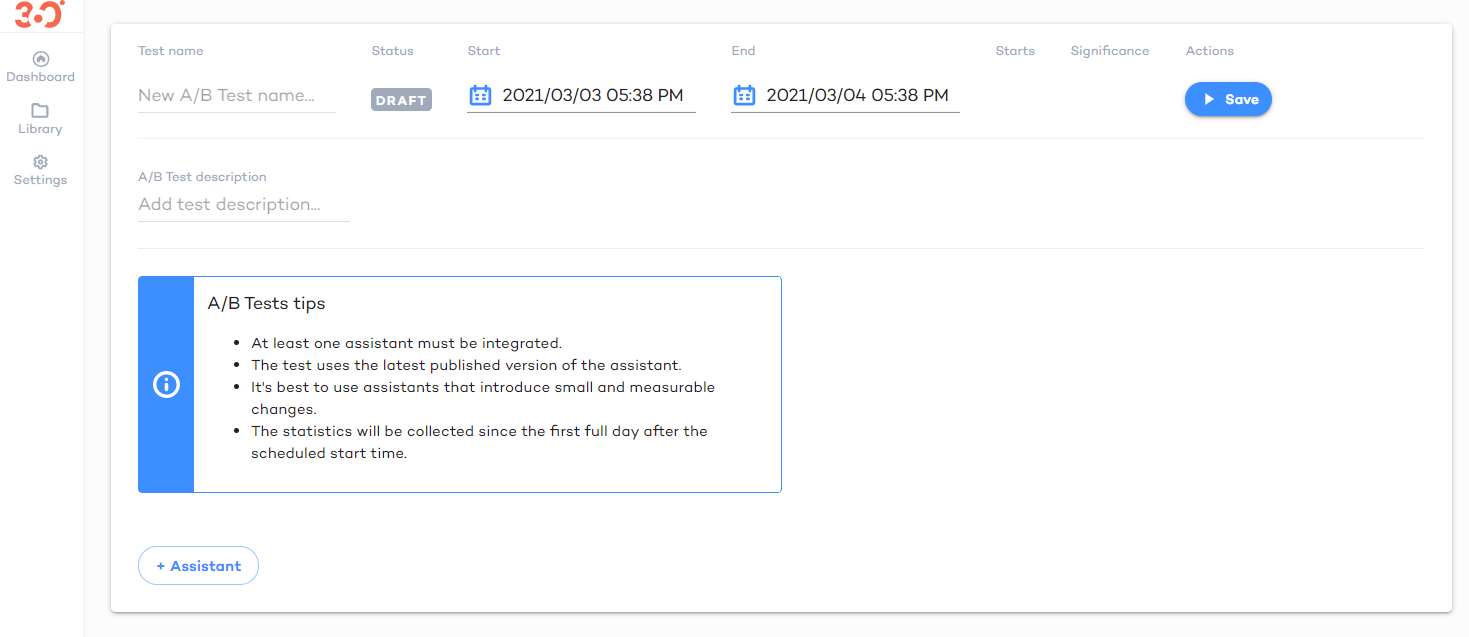
1. Specify the test name: it's better to keep the name readable and sensible for the future use | 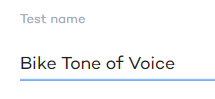 |
2. Select the Start and End time of the test: define the time when the test will start and end. ATTENTIONThe statistics will be collected only since the beginning of the first full day of the test. So if you set up the test start for the moment its created, the statistics will be collected from 00:00:01 tomorrow. This is done to make sure that previous visits don't mess the statistics. | 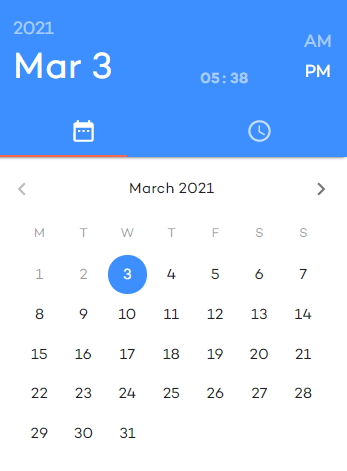 |
| 3. Add the test description: This is an optional setting, that you can add to make sure that both you and other stakeholders can understand the purpose of the test | 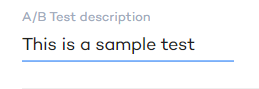 |
4. Add Product Finders: click the "+ Product Finder" button, to add Product Finders to be compared during the test. | 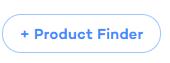 |
The test will be using the latest published version of the Product Finder, therefore, to run the test, there should be at least 2 Product Finders that have been published (only such Product Finder will be available for choice in the drop-down).
4.1 Select the Product Finder: Select the Product Finder from the drop-down.

Repeat steps 4 and 4.1 above until you've added all the Product Finders that you want to compare.
2.1 Split the Traffic and Save the Test
For the time of the A/B test run, visitors who have accessed any of the selected Product Finders can see any of them. By default, the traffic is split between the Product Finders equally, but you redefine the probability with which each test might be shown. To define the percentage of traffic for each of the Product Finders, you can:
Move the "Traffic split" slider
Enter the value to the percentage field. Currently, these are only integer values.

Once you've split the traffic, click the "Save" button
3. View the Test Results
3.1 Ongoing Test. Brief View
When the start time comes, the test status will be shown as "RUNNING"

Whenever a visitor goes to the website where one of the Product Finders used in the test is integrated, they can see any of them (and probability depends on the "Traffic split" you've defined.
As soon as the first full day of the test run has started, the statistics will be collected:
Once a visitor has accessed any of the tested Product Finders, the "Product Finder 360 starts" value will change
Whenever there is enough data to guaranty that the statistical error is under 5%, the significance check will turn green
3.2 Ongoing or Finished Test. Detailed Statistics
Once the test has got enough data, you can see the results: click the "View" button. The following results are provided for each of the tested Product Finders:
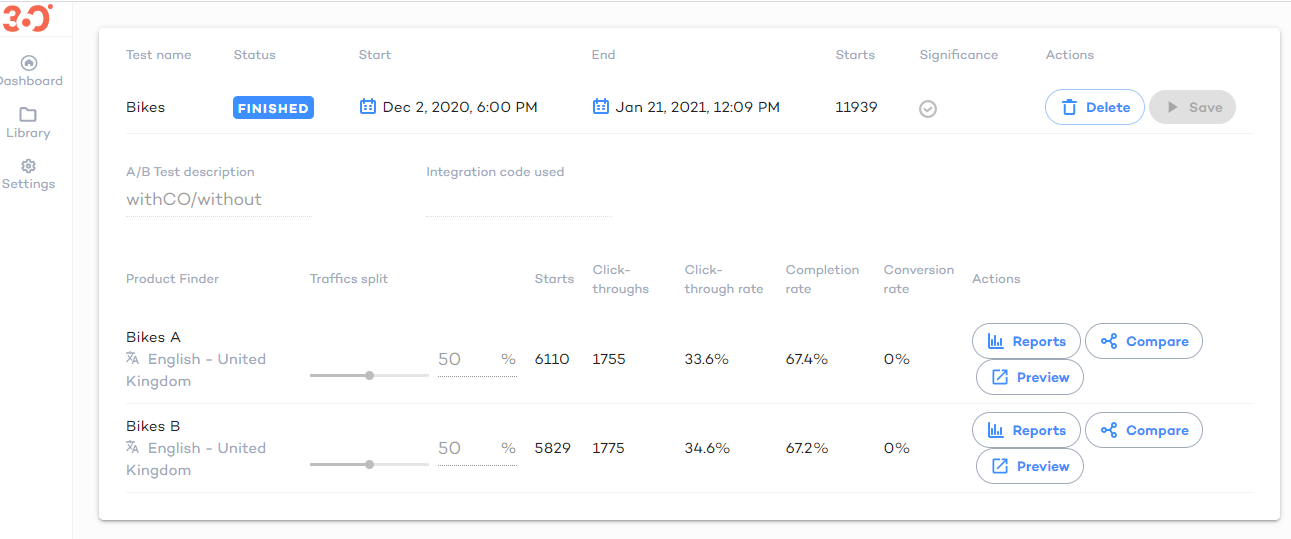
Product Finder 360 starts: How many times during the test run visitors who opened this Product Finder, performed at least one action there.
Click-throughs: How many times during the test run visitors who opened this Product Finder went through all of its questions.
Click through rate: Percentage ratio of Click-throughs to Product Finder 360 starts
Completion rate: Percentage ratio of the times when visitors selected a product or reached the final screen of the Product Finder to the number of Product Finder 360 starts
Conversion rate: Percentage ratio of the times when visitors selected a product to the number of Product Finder 360 starts
4. Access Overview Reports, Preview and Flow Insights of the Product Finders
| By each of the Product Finder rows, there is a set of action buttons. | 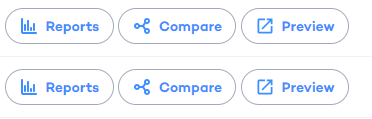 |
You can:
Get to overview reports of this Product Finder for the time period beyond the test time: click "Reports"
Get to the preview of the Product Finder's last published version: click the "Preview" button
Compare flow insights of the two Product Finders side by side
4.1 Compare Flow Insights
To compare flow insights of the two Product Finders side by side:
1. Click the "Compare" button by the Product Finder to be compared |  |
2. By default, the Product Finder will be compared to the one that follows in the list. You can switch to another Product Finder using a dropdown above the flow insights page in the emerged window | 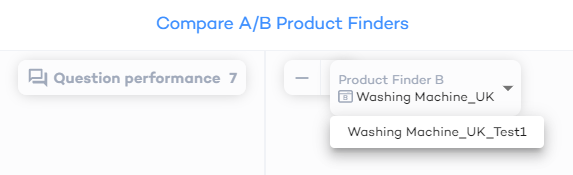 |
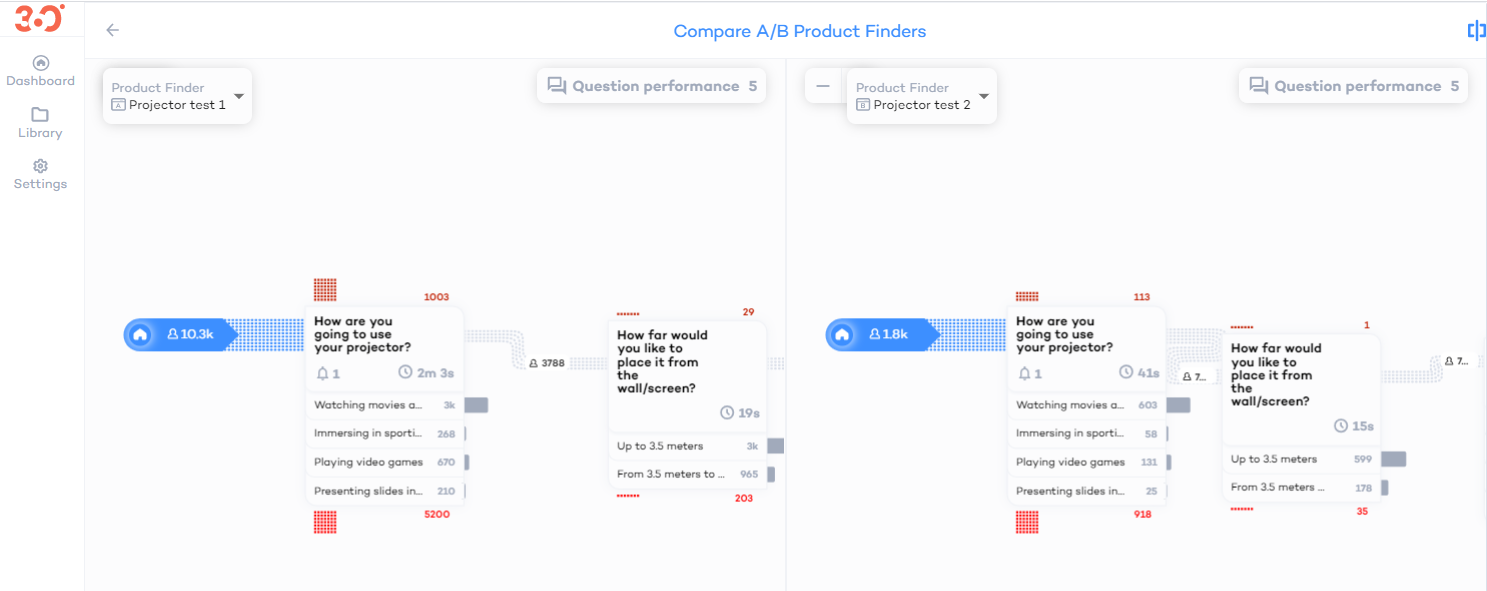
3. You will see the two Product Finders and their insights on the canvas
TIP
If needed, you can change the comparing direction, use the orientation button in the top right corner

5. Actions with AB Tests and Related Product Finders
While the test is running, you cannot delete it. You also cannot publish a new version of any Product Finder used in the AB test.
If the current version of the Product Finder is not topical or you've got enough data and want to stop an AB test, click the "Finish" button. Once a test has been finished, the "Delete" button will appear. You may delete the test, once you don't need its data.