Add a Lead Generation Form
Introduction
As a term, lead means the contact information of a customer who is interested in a specific product. Product Finder 360-based digital Product Finders are a great way to figure out what product a person is interested in, but how can you get their contact information? Our answer is rather straightforward - integrate the lead generation form inside the Product Finder.
This can be done as a part of your Product Finder creation, precisely a type of your Question and Answer flow.
For each lead generation form you can:
Below, you will find step by step guide for each of the actions.
1. Define the Form Header
It's really important how you introduce the lead generation form. Whether you chose to say "Please share your details with us" or first mention the purpose and assure your prospect that you will take proper care of their data - Product Finder 360 lets you do it via editing the question text.

| Define the answer type as "Lead generation" | 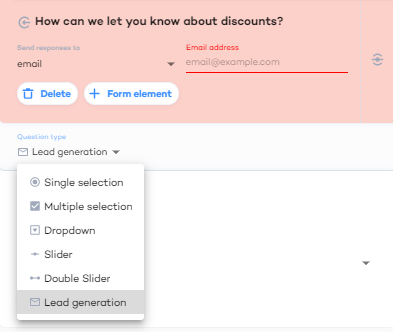 |
2. Add Elements and Define Their Settings
Usually, a lead generation form contains several questions, e.g. you might need to learn the prospect's name, ask some additional questions, etc. A number of settings can be defined for each of such elements, as described below:
2.1. Add and Delete Form Elements
In order to add a new element to the lead generation form, click the "+ Form elements" button. | 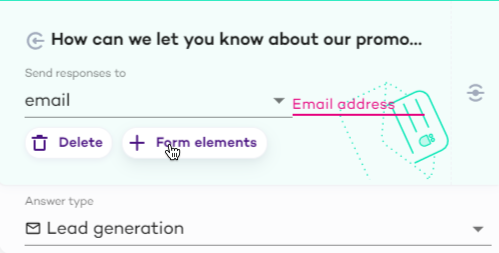 |
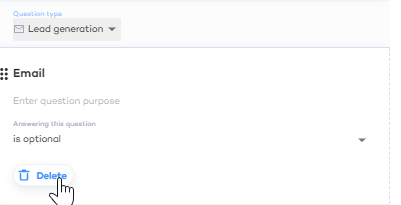
The form element details will appear below the lead generation settings. In order to delete an element from the lead, click the "Delete" button below the element. (Don't confuse it with the similar button below the lead generation setting, as it will delete the whole form, not just one element of it).
|  |
2.2. Define Basic Settings of a Form Element
In the settings of a form element (that will emerge as soon as you've clicked the "+Form element" button, you can define: 1. Name of the element: Field name. This is the question or request that will be visible to the customers when filling in the lead generation form. 2. Question purpose: This is an optional note that you can leave for yourself and other internal users to explain the element purpose. It won't be visible to the customers. 3. Define if filling this field is optional or mandatory. The form cannot be submitted if any of the mandatory fields are left empty. 4. Select the type of this element. | 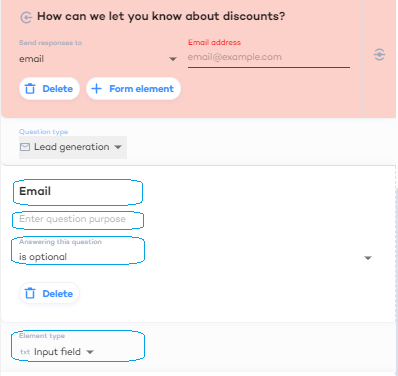 |
The available types (described in the sections below) are: | 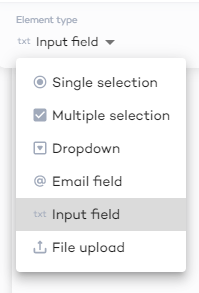 |
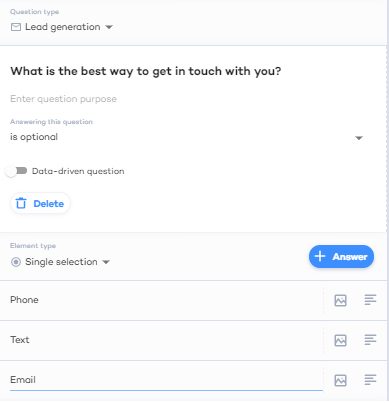
2.2.1 Add a Single Selection
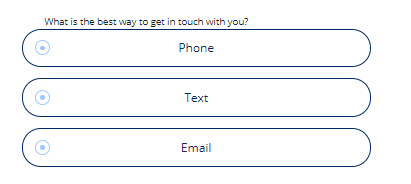
If you want the customer to choose one of many options, you can use the "Single selection" (another option is a "Dropdown") element. This way you will create a set of radio buttons. Click the +Answer button to add answer options. You also modify answers, changing their text, adding descriptions and images to them as for usual multiple choice answers.
| In the Question Bank | In the Digital Product Finder |
 |  |
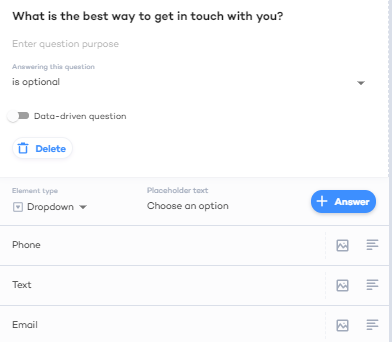
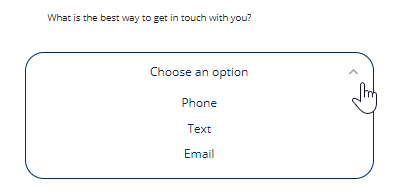
2.2.2 Add a Dropdown Menu
If you want the customer to choose one of many options, you can use the "Dropdown" (another option is a "Single selection") element. This way you will create a dropdown menu. The images will not be shown for a dropdown menu, but they will be displayed if you later decide to change it into a set of radio buttons or checkboxes. You can also the text or tip to the drop-down menu header. Click the +Answer button to add answer options. You also modify answers, changing their text, adding descriptions and images to them as for usual multiple choice answers.
 |  |
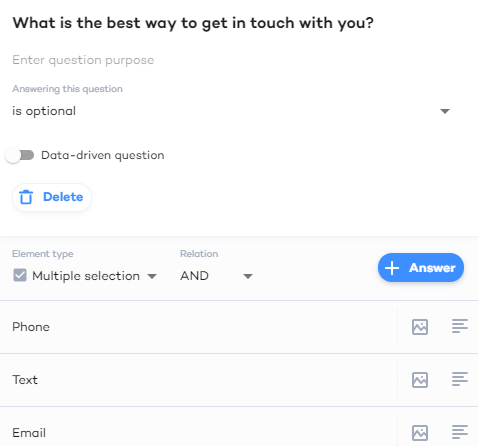
2.2.3 Add a "Multiple selection" Element
If you want the customer to choose several options, use the Checkbox type of the element. This way you will create a set of options that can be checked. Choose OR (any of the answers) or AND (all of the answers) under the Relation selector. Click the +Answer button to add answer options. You also modify answers, changing their text, adding descriptions and images to them as for usual multiple choice answers.
| In the Question Bank | In a Digital Product Finder |
 | 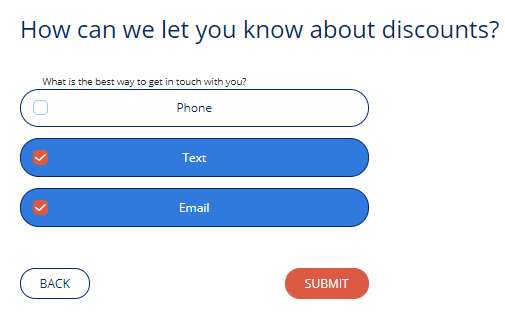 |
This is a form that could be created with our examples
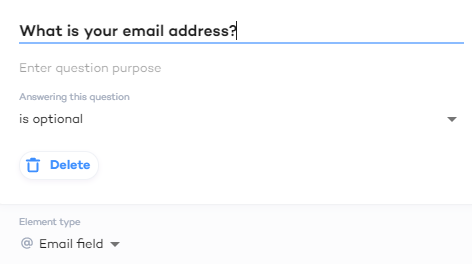
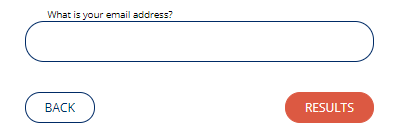
2.2.4 Add an Email Field
Select the Email field element type, if you want us to validate the input against standard email address format. For each email field, you can define the text to be displayed by the field (instead of the New Element text), and set it as mandatory (or leave optional)
| In the Question Bank | In a Digital Product Finder |
 |  |
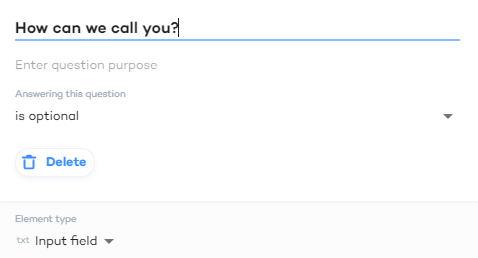
2.2.5 Add an Input Field
Input fields are aimed for the customer to leave a text message. (This could be anything from the full name and address and to some feedback or a support request.) For each input field, you can define the text to be displayed by the field (instead of the New Element text), and set it as mandatory (or leave optional)
| In the Question Bank | In a Digital Product Finder |
 |  |
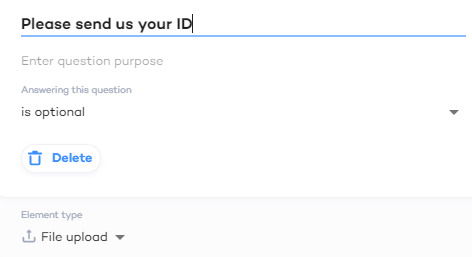
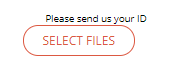
2.2.6 Add a File Upload Field
If you want the customer to send you a file (e.g. id, photo, a document of any kind), you can add a file upload field. If the functionality is available for your account, the "File upload" option will be available in the list of element types.
Select the "File upload element type"
 |  |
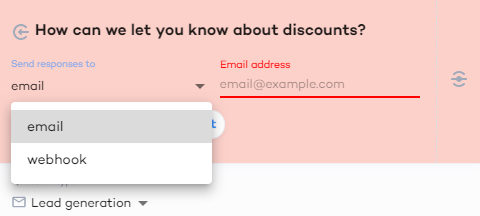
3. Define Where and How the Answers Shall Be Sent to You
The next important step is to define, how this information, provided in the form, will be getting to you.
Go to Lead Generation settings and select the method to collect your leads' data. There are two ways you can choose:
Email: specify the email address to which information about new leads shall be sent.
Webhook URL: provide a URL address of the webhook you are using, and once the lead generation form has been submitted, Product Finder 360 will generate a JSON file and send it there.
The setting is defined in the settings of the questions and will appear, as soon as you've defined the question type as Lead generation
3.1. Lead Generation JSON Format
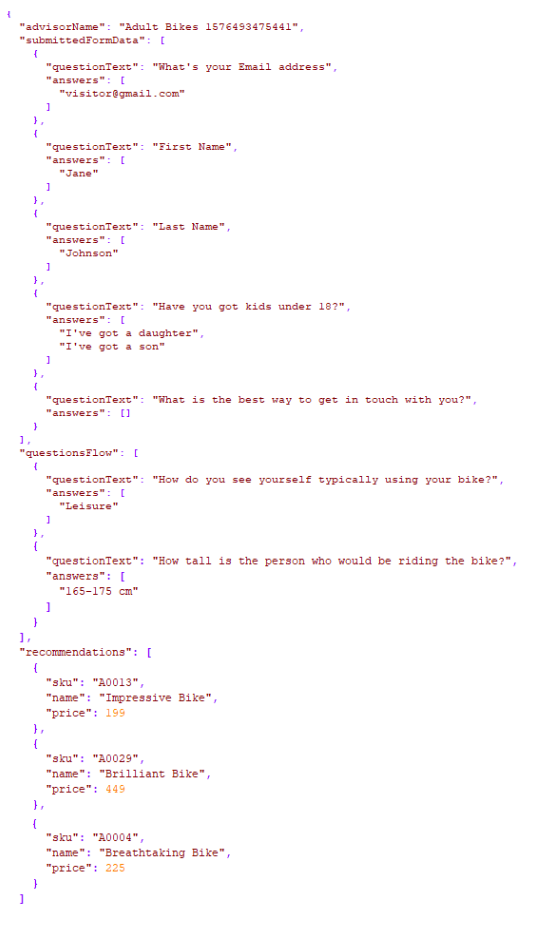
The generated JSON will contain three main data elements:
"advisorName": Name of the Digital Product Finder As displayed in the top left corner of the Product Finder Example:
| 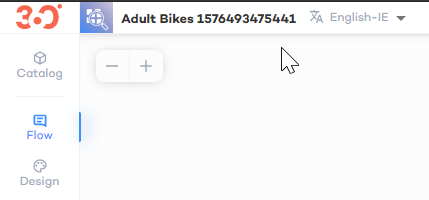 |
"questionText": text preceding an element in the lead generation form
"answers": an array of the answers provided by the customer Example
"submittedFormData": [{"questionText": "What's your Email?","answers": ["customer@gmail.com"]},
"questionText": text preceding an element in the lead generation form
"answers": an array of the answers provided by the customer Example
"submittedFormData": [{"questionText": "What's your Email?","answers": ["customer@gmail.com"]},
"questionText": text preceding an element in the lead generation form
"answers": an array of the answers provided by the customer Example
"questionsFlow": [{"questionText": "How do you see yourself typically using your bike?","answers": ["Off-road"]},"recommendations": an array of the recommendations that had been given to the customer when they reached lead generation form Example
"recommendations": [{"sku": "A0013","name": "Impressive Bike","price": 199"},
If a question wasn't answered, you can still see the question and empty answer array
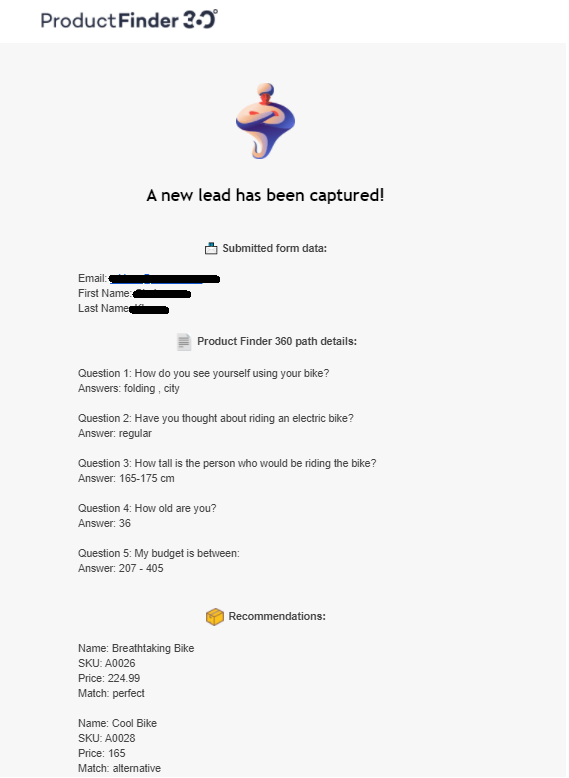
3.2. Email
If the email option has been chosen, once a customer has submitted your lead generation form, you will get an email that contains:
Submitted form data: questions of the lead generation form and answers to them. If any question has been skipped, you will get a "(not provided)" message
Product Finder 360 path details: other questions answered by this customer in the Product Finder and answers to them
4. Add the Question to the Flow
As for any other question, you need to define the rules for the lead generation to be displayed, i.e. connect it to other questions.
Integrate and publish your Product Finder and start getting the lead information to grow your customer base!