Create a New Localization and Switch to It
Introduction
A version of the Product Finder used for a specific country in a specific language is called the localization of the Product Finder. And before you can translate the Product Finder to another language and/or localize the product catalog for a new country you need to add the new localization.
From this article, you will learn how to:
1 Add New Localization
To add a new localization:
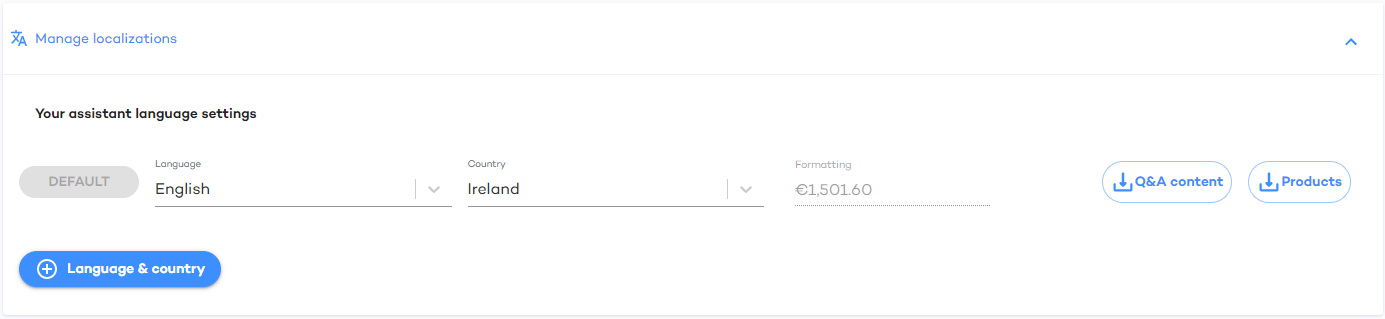
1. Go to the Product Finder editor. Open Settings, and select "Manage localizations".
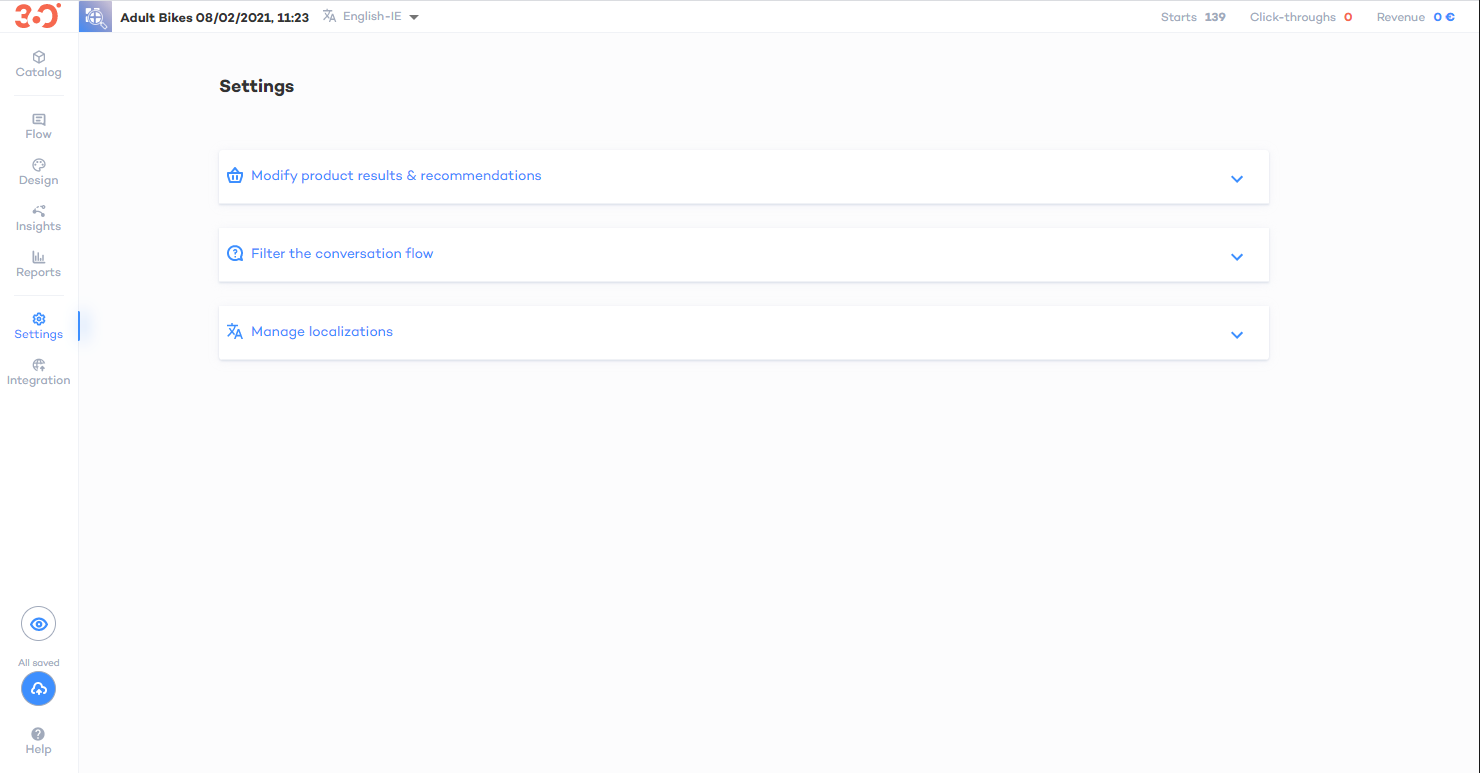
2. Click the + Language & country button below the localization list.
3. The "New localization for your Product Finder" tab will emerge. Select the language and the country of the new localization.
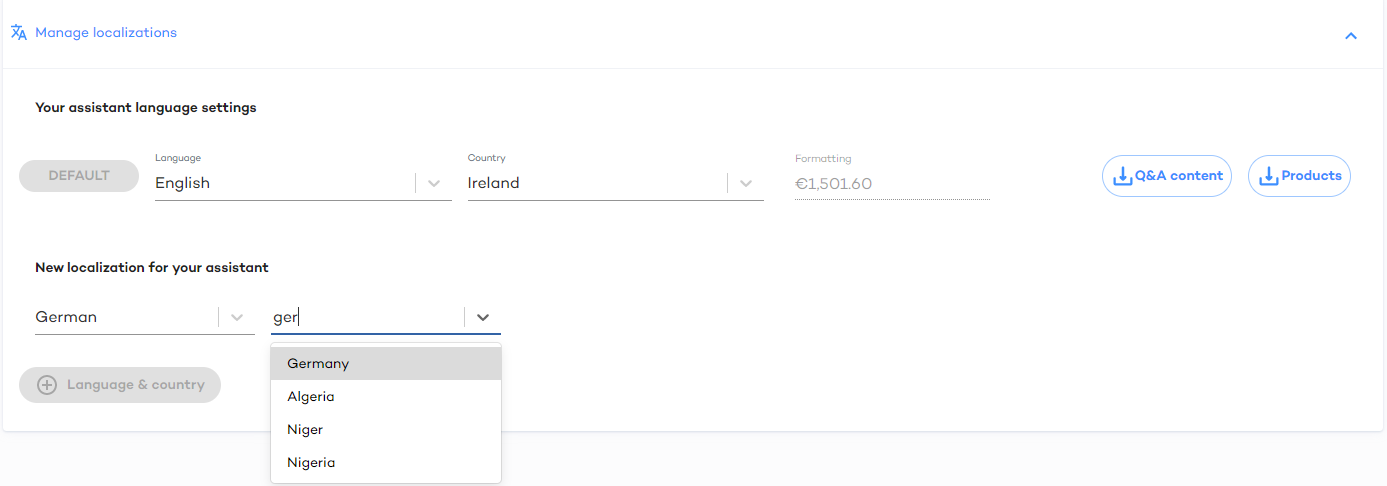
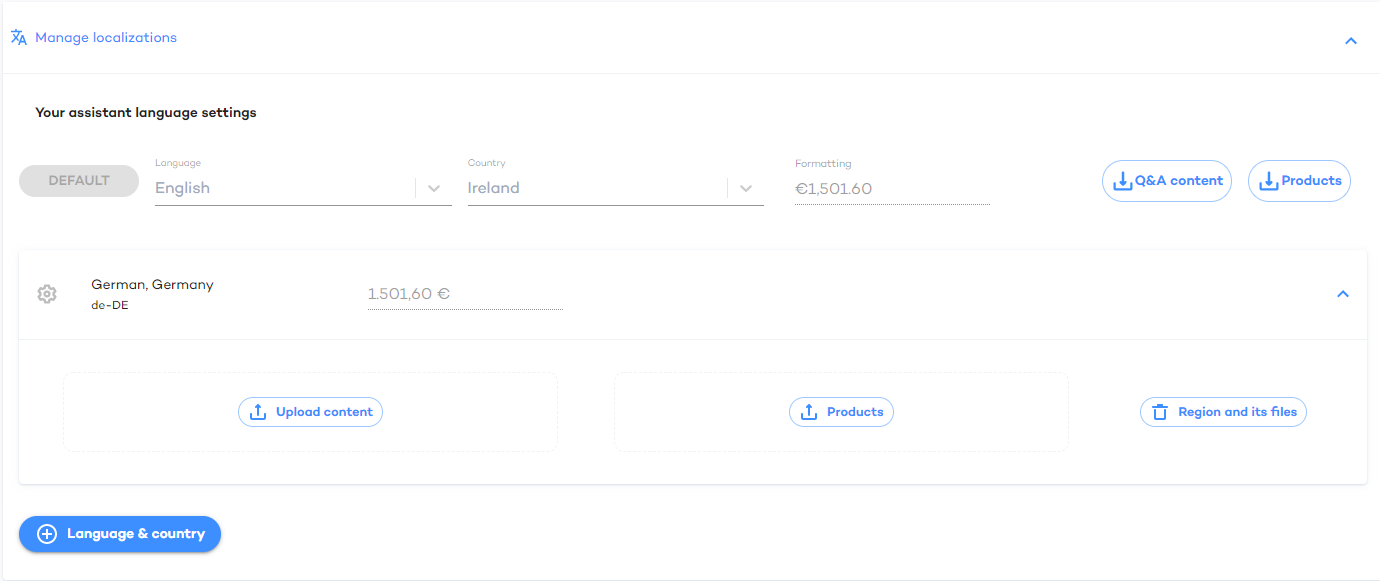
As soon as you've chosen both the language and the country, new localization will be added to "Your Product Finder language settings". (For example. we've chosen "German" and "Germany".)
2 Switch Between Localizations
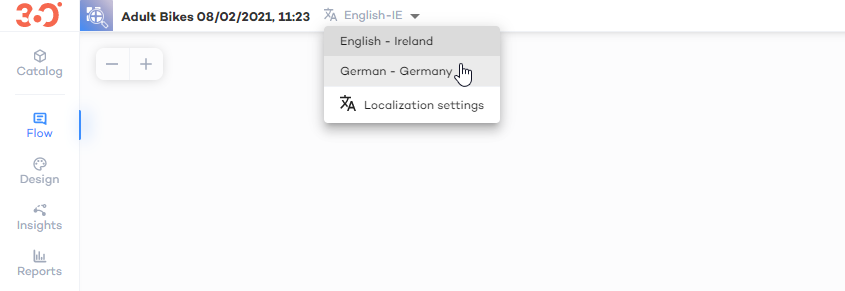
Now, whenever there are several localizations available you can switch between them in one click. Now. you can switch to the localization at any part of the Product Finder editor.
It's enough to click the arrow down by the Product Finder name and select the needed localization.
3.2 Next Steps
At the next steps, you can:
Add a localized product catalog for a new country: define localized values for the attributes of your product catalog (e.g. define different prices or translate names of the colors)
Check and adjust the mapping rules of the localized product catalog and translated questions
Check and adjust the way product attributes are displayed at the recommendations of the localized Product Finder
After the localization has been created you can Integrate it into your marketplace.