Create Entry Points for Your Product Finder
Introduction
So, you've created your digital Product Finder and ready to integrate it into your Website. One of the questions is where and how to place the entry point or entry points on your Website.
In this article, you can:
1. Examples of Entry Points
1.1 Banners
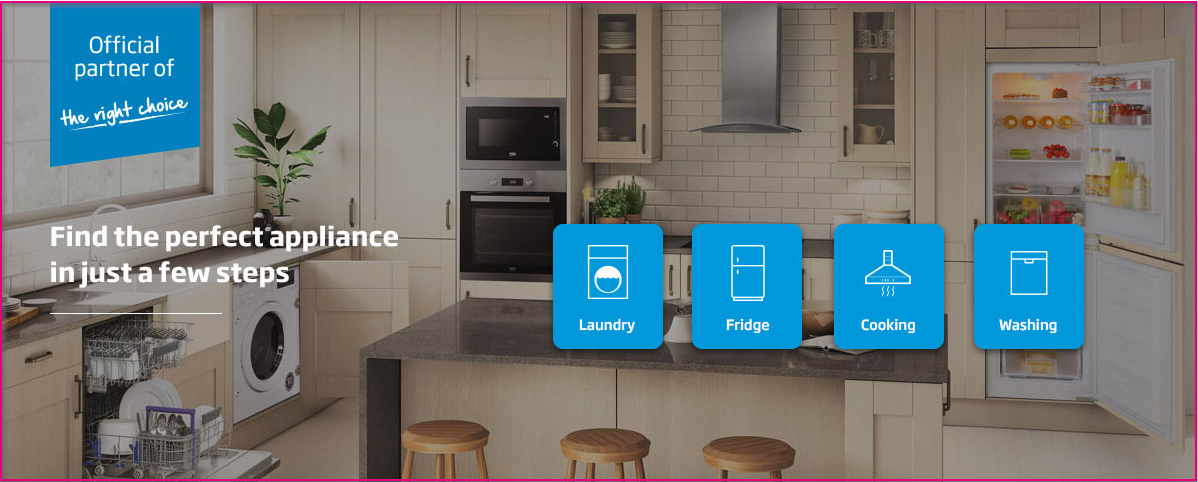
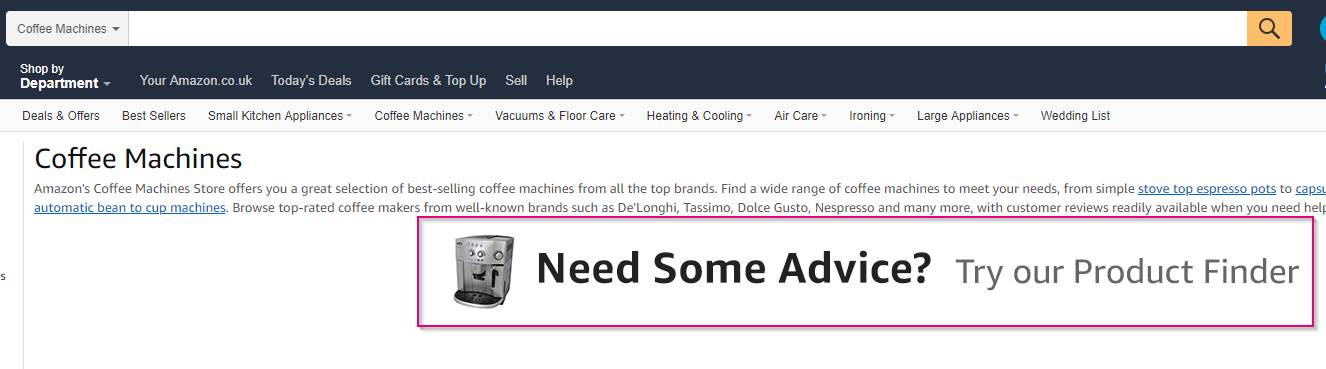
Integrating your Product Finders via banners is an extremely powerful way of boosting their accessibility and attracting the customers' attention. We recommend that the banner in some way explain to the customers that they will be asked some questions to help them find the best solutions. Here are some banner examples.

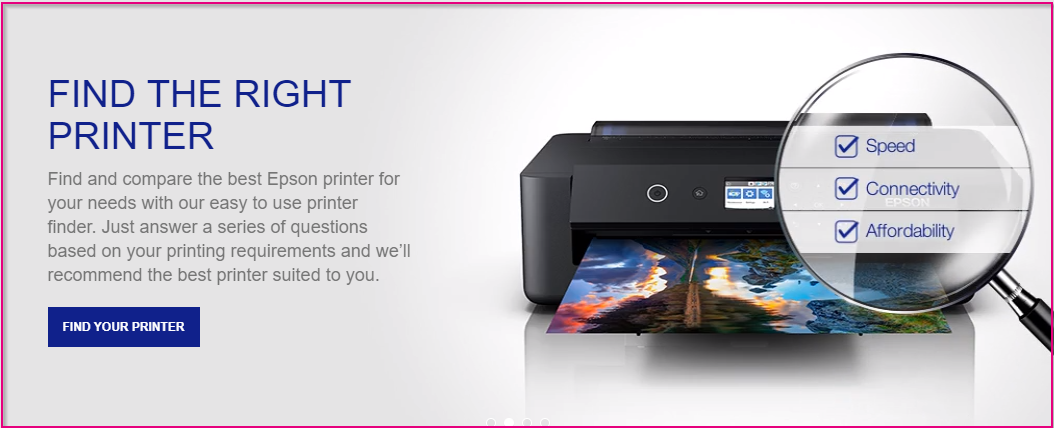
You can even design a banner that contains a question from the Product Finder in it.

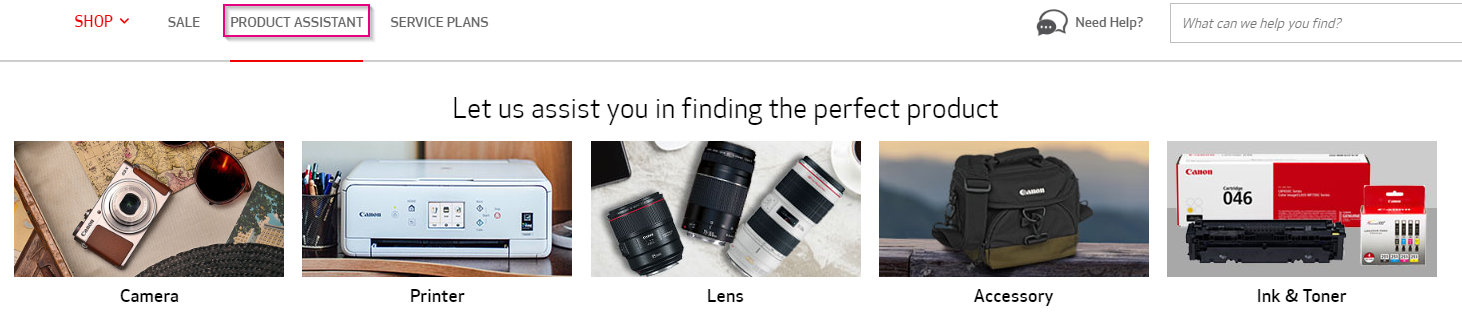
1.2 Navigation Bar
The top navigation tab is a powerful placement option as this is where users look first to navigate through the website. Placing an entry point here is a great way to let your users know that there is an Product Finder available when they are browsing your website, making them eager to stay and explore further.
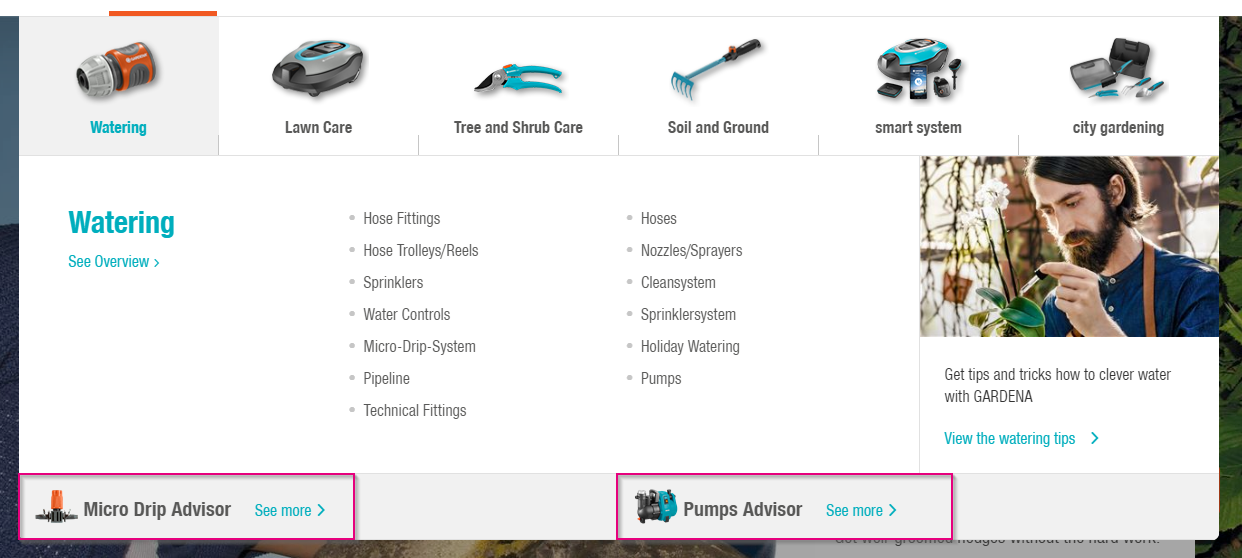
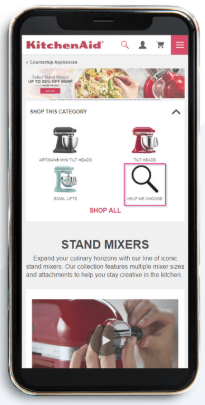
1.3 Product Category Page
Integrating a Product Finder into a category page is a good page to let the user find the Product Finder and thus narrow down their search options.
If you've got one Product Finder that is branching into different categories, you can also use a preliminary set entry point, where the answer(s) needed to define the category are already given.
1.4 By the Search Field
As the search tool is a rather common way to start an interaction with a page, this is a good place to paste a link to the Product Finder and attract those customers searching to cover a specific need and find the right products for them, increasing both their engagement and satisfaction.
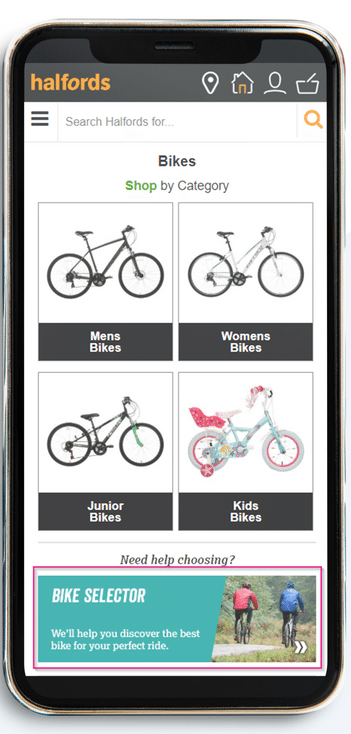
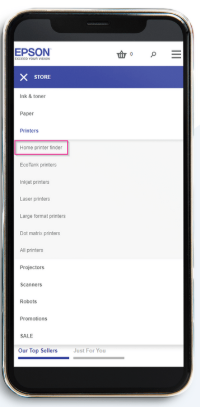
1.5 Mobile Entry Points
A huge percentage of today’s users will access e-commerce websites from their smartphones. We see a clear upward trend in Product Finder starts coming from mobile devices. Hence, you need to make sure your site is optimized and adapted to mobile displays.
This also includes the appropriate mobile integration of your digital Product Finder. Not all elements that may be visible on your site’s desktop version are accessible from a mobile browser. Usually, some content is cut out in order to achieve a more mobile-friendly design. This may apply to banners or even links in the navigation menu! Therefore, if you think about the proper integration of your Product Finders, always consider adding separate entry points for mobile versions of the site! Here are some examples thereof:

2. Why Should You Have Multiple Entry Points To Your Digital Product Finder?
It might seem that one entry point is quite enough, however, there is a number of reasons why it's better to have several.
Each customer goes through different sections of your website. Placing entry points in multiple subpages ensures that no customer who needs the Product Finder to make their choice will miss the entry point and thus helps to increase the engagement
Including multiple entry points ensures customers are aware that there is a digital Product Finder on your website.
Having entry points integrated into multiple places of the website builds trust and makes the Product Finder seem like an integral part of your eCommerce site, creating a seamless customer experience
3. Link to the Product Finder
Now that you understand what kind of entry points can be used, let's see what link can be tied thereto.
3.1 Link to the First Question of the Product Finder
When integrating the Product Finder to your marketplace, you've created an integration page for the Product Finder. If you want the customers to open the Product Finder from the very start, simply link the entry point to the URL of this integration page.
3.2 Link to a Predefined State of the Product Finder
You can also link the entry point to a predefined state of the Product Finder. This means, that the Product Finder will have opened as if some questions have already been answered in a specific way. This is particularly useful for entry points on category pages. For example, you might want to use one Product Finder at the homepage and category pages. You can set it up in such a way that from the main page the customers will get to the first question (where they can select product category by themselves, and from the category pages they will get to the Product Finder where the questions affecting the category choice have already been answered.
To create a corresponding link you need to:
| 1. Enable dynamic URL change |  |
2. Open the integration page that you've created when integrating your Product Finder to the webpage
3. Answer the questions to get to the state that you need to preset.
4. Copy the URL address - this is the link you need!
5. You can disable the dynamic URL change after that.