Library
Introduction
The Library is the storage of the images and custom fonts that you can use in your Product Finders! The Library dashboard allows you to conveniently browse and manage all images and fonts, use and change them across multiple Product Finders.
1. Get to the Library and Upload First Files
To enter your Product Finder 360 library, click the Library link in the upper menu bar of your Dashboard. |  |
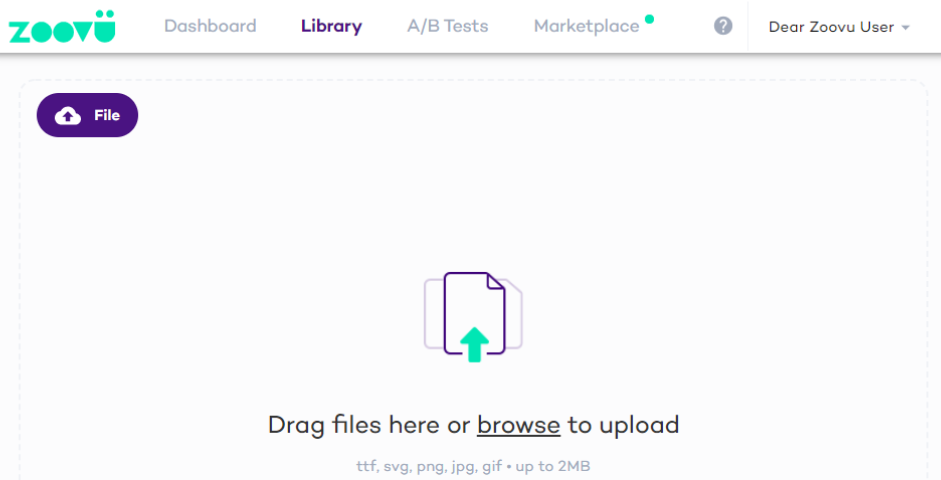
If the Library is empty, you will see a suggestion to add more files to it. You can:
|  |
KEEP IN MIND
Supported file formats are .svg, .png, .jpg and .gif for images and .ttf for fonts. The supported file size is up to 2M, however, the recommended image to ensure the smooth and responsive performance of the Product Finder is up to 100Kb. (You can find this and other recommendations for images over here.)
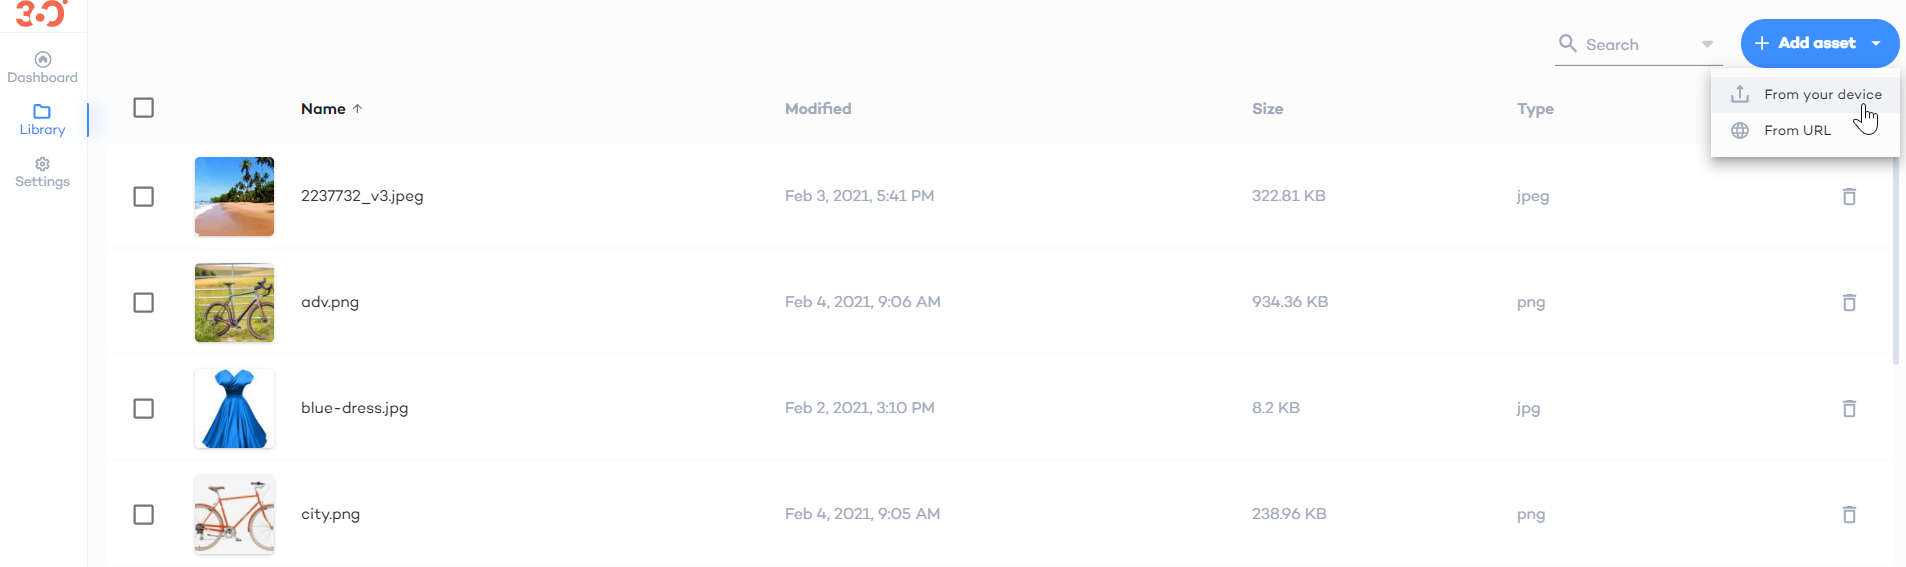
2. Library File Table and Actions
Once there is at least one file in the library, you will see the file table. From there you can view details of your files, label them, crop and adjust, delete and replace images in the library, and (at the same time) in all the relevant Product Finders.
Please see the Store and Manage Files in the Library guide for more details.
3. Changes Taking Effect
All the changes of images used in any of your Product Finders will immediately affect all drafts that use it. Live Product Finders using this image may be affected immediately or once they've been published again, subject to the "live update" setting.